


The lesson was simple: power helps, but off-road e-bike technique matters first. On gravel, forest roads, dry dirt and light trails, the rider who stays smooth usually goes further, feels safer and uses less battery than the rider who just turns up the assist and hopes for the best.
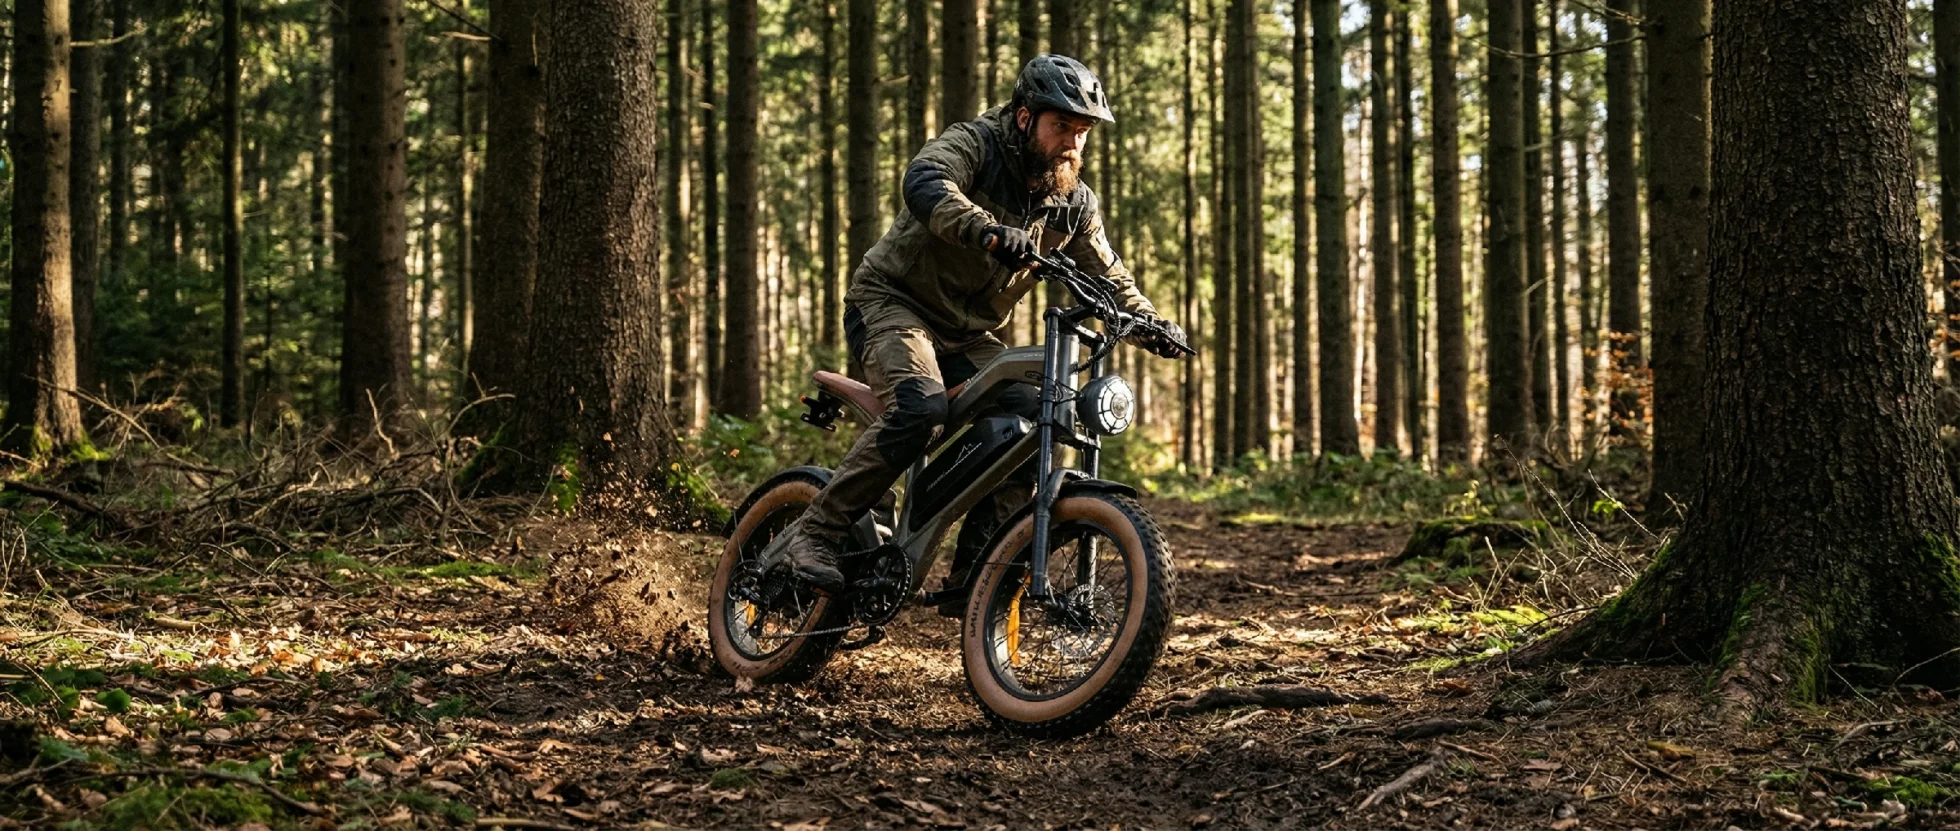
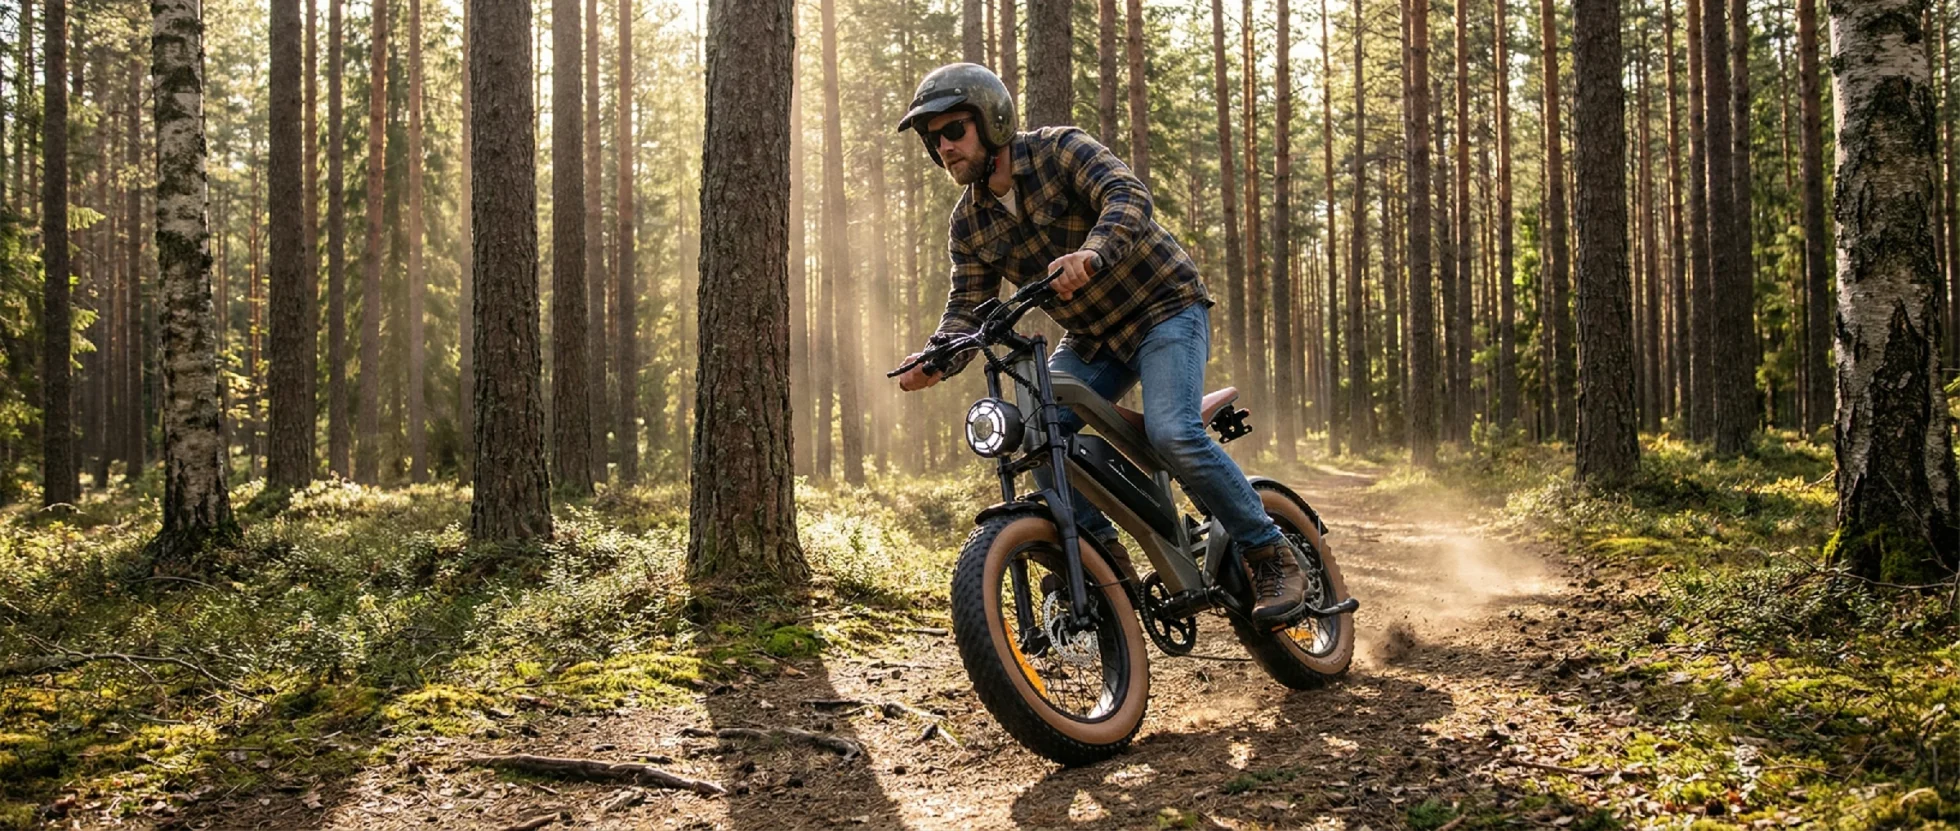
This is not a downhill racing guide. It is a practical guide for everyday e-bike riders who want to leave smooth asphalt now and then without scaring themselves. Think canal paths after rain, farm tracks, compact forest roads and the broken gravel lanes you find between European towns.
Off-Road E-Bike Technique Starts Before the Trail
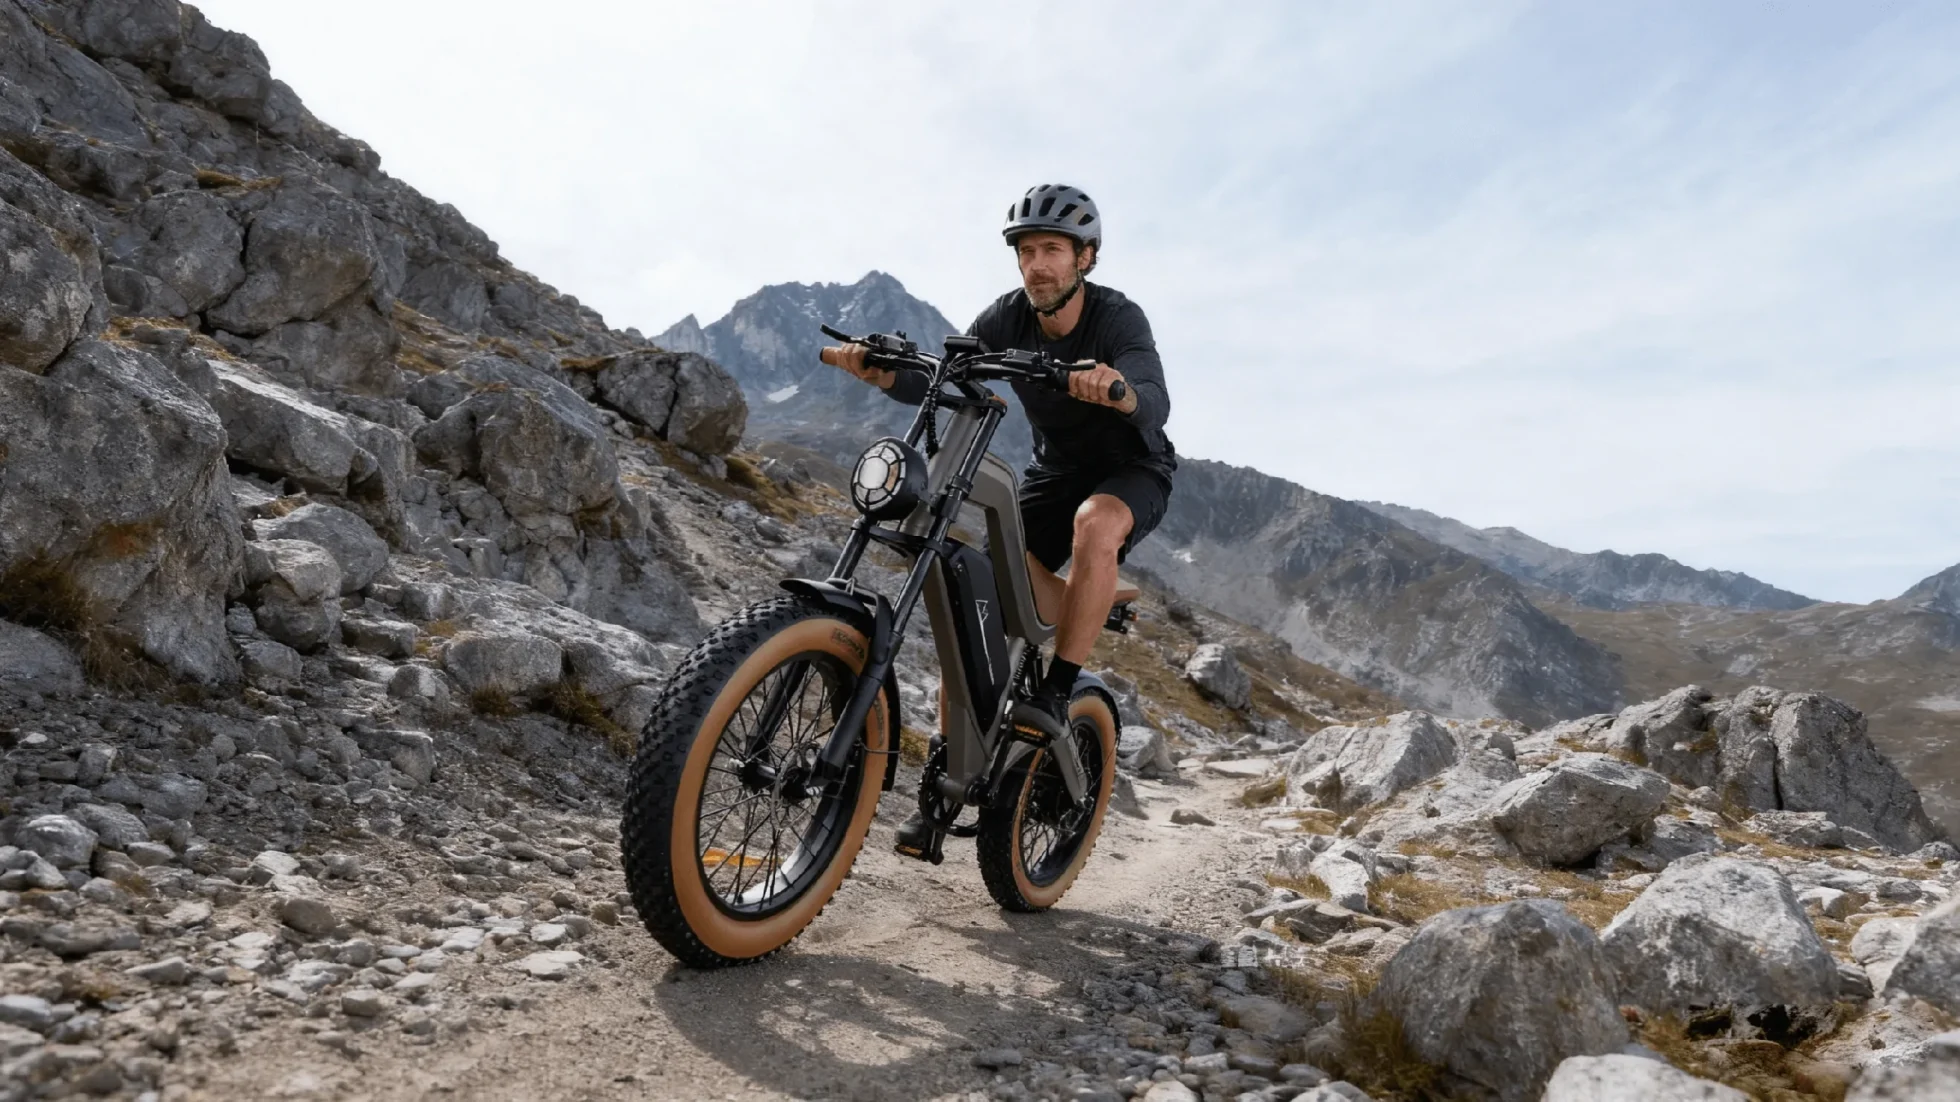
Before we talk about cornering or climbing, there is one boring point that saves a lot of trouble: know where your bike is allowed to go. In the EU, road-legal pedal-assist e-bikes are generally built around the familiar 250W and 25 km/h assistance limit. The exact regulatory language is covered in Regulation (EU) No 168/2013.
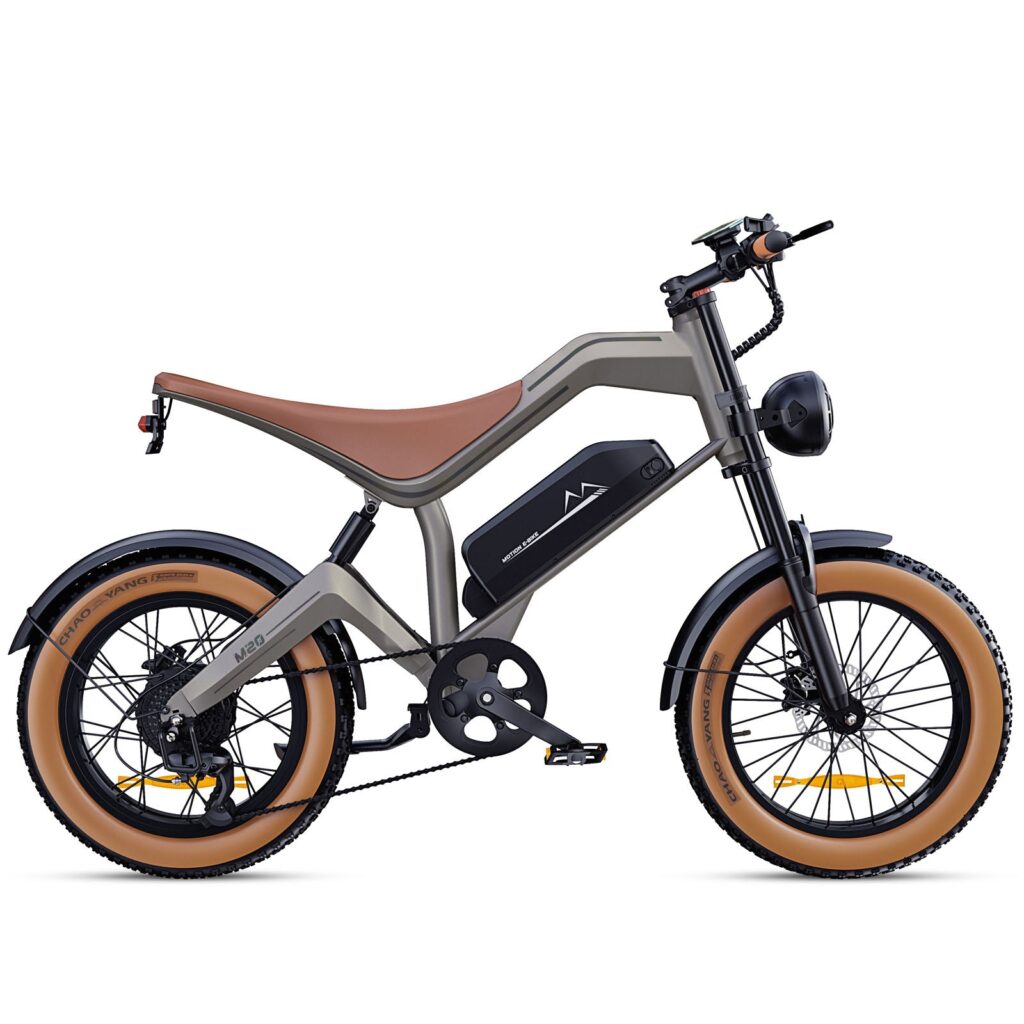
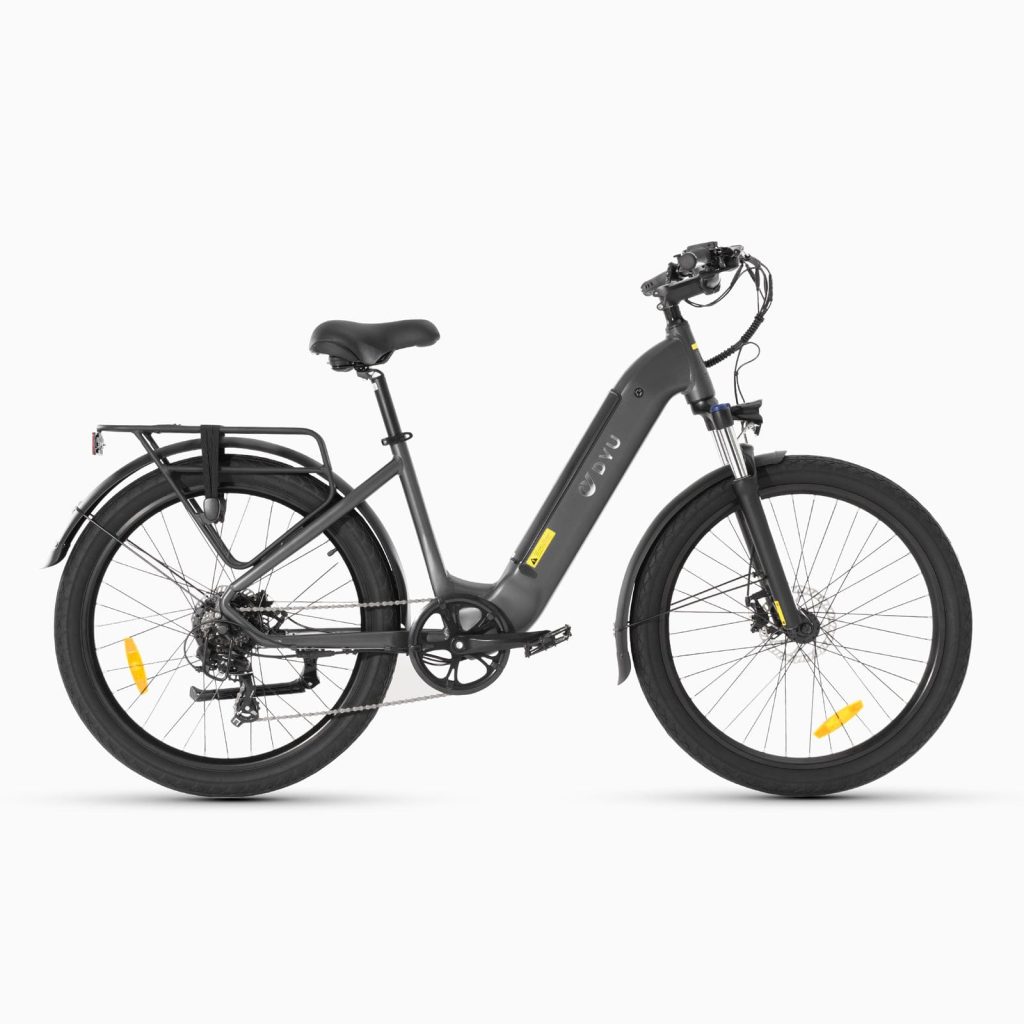
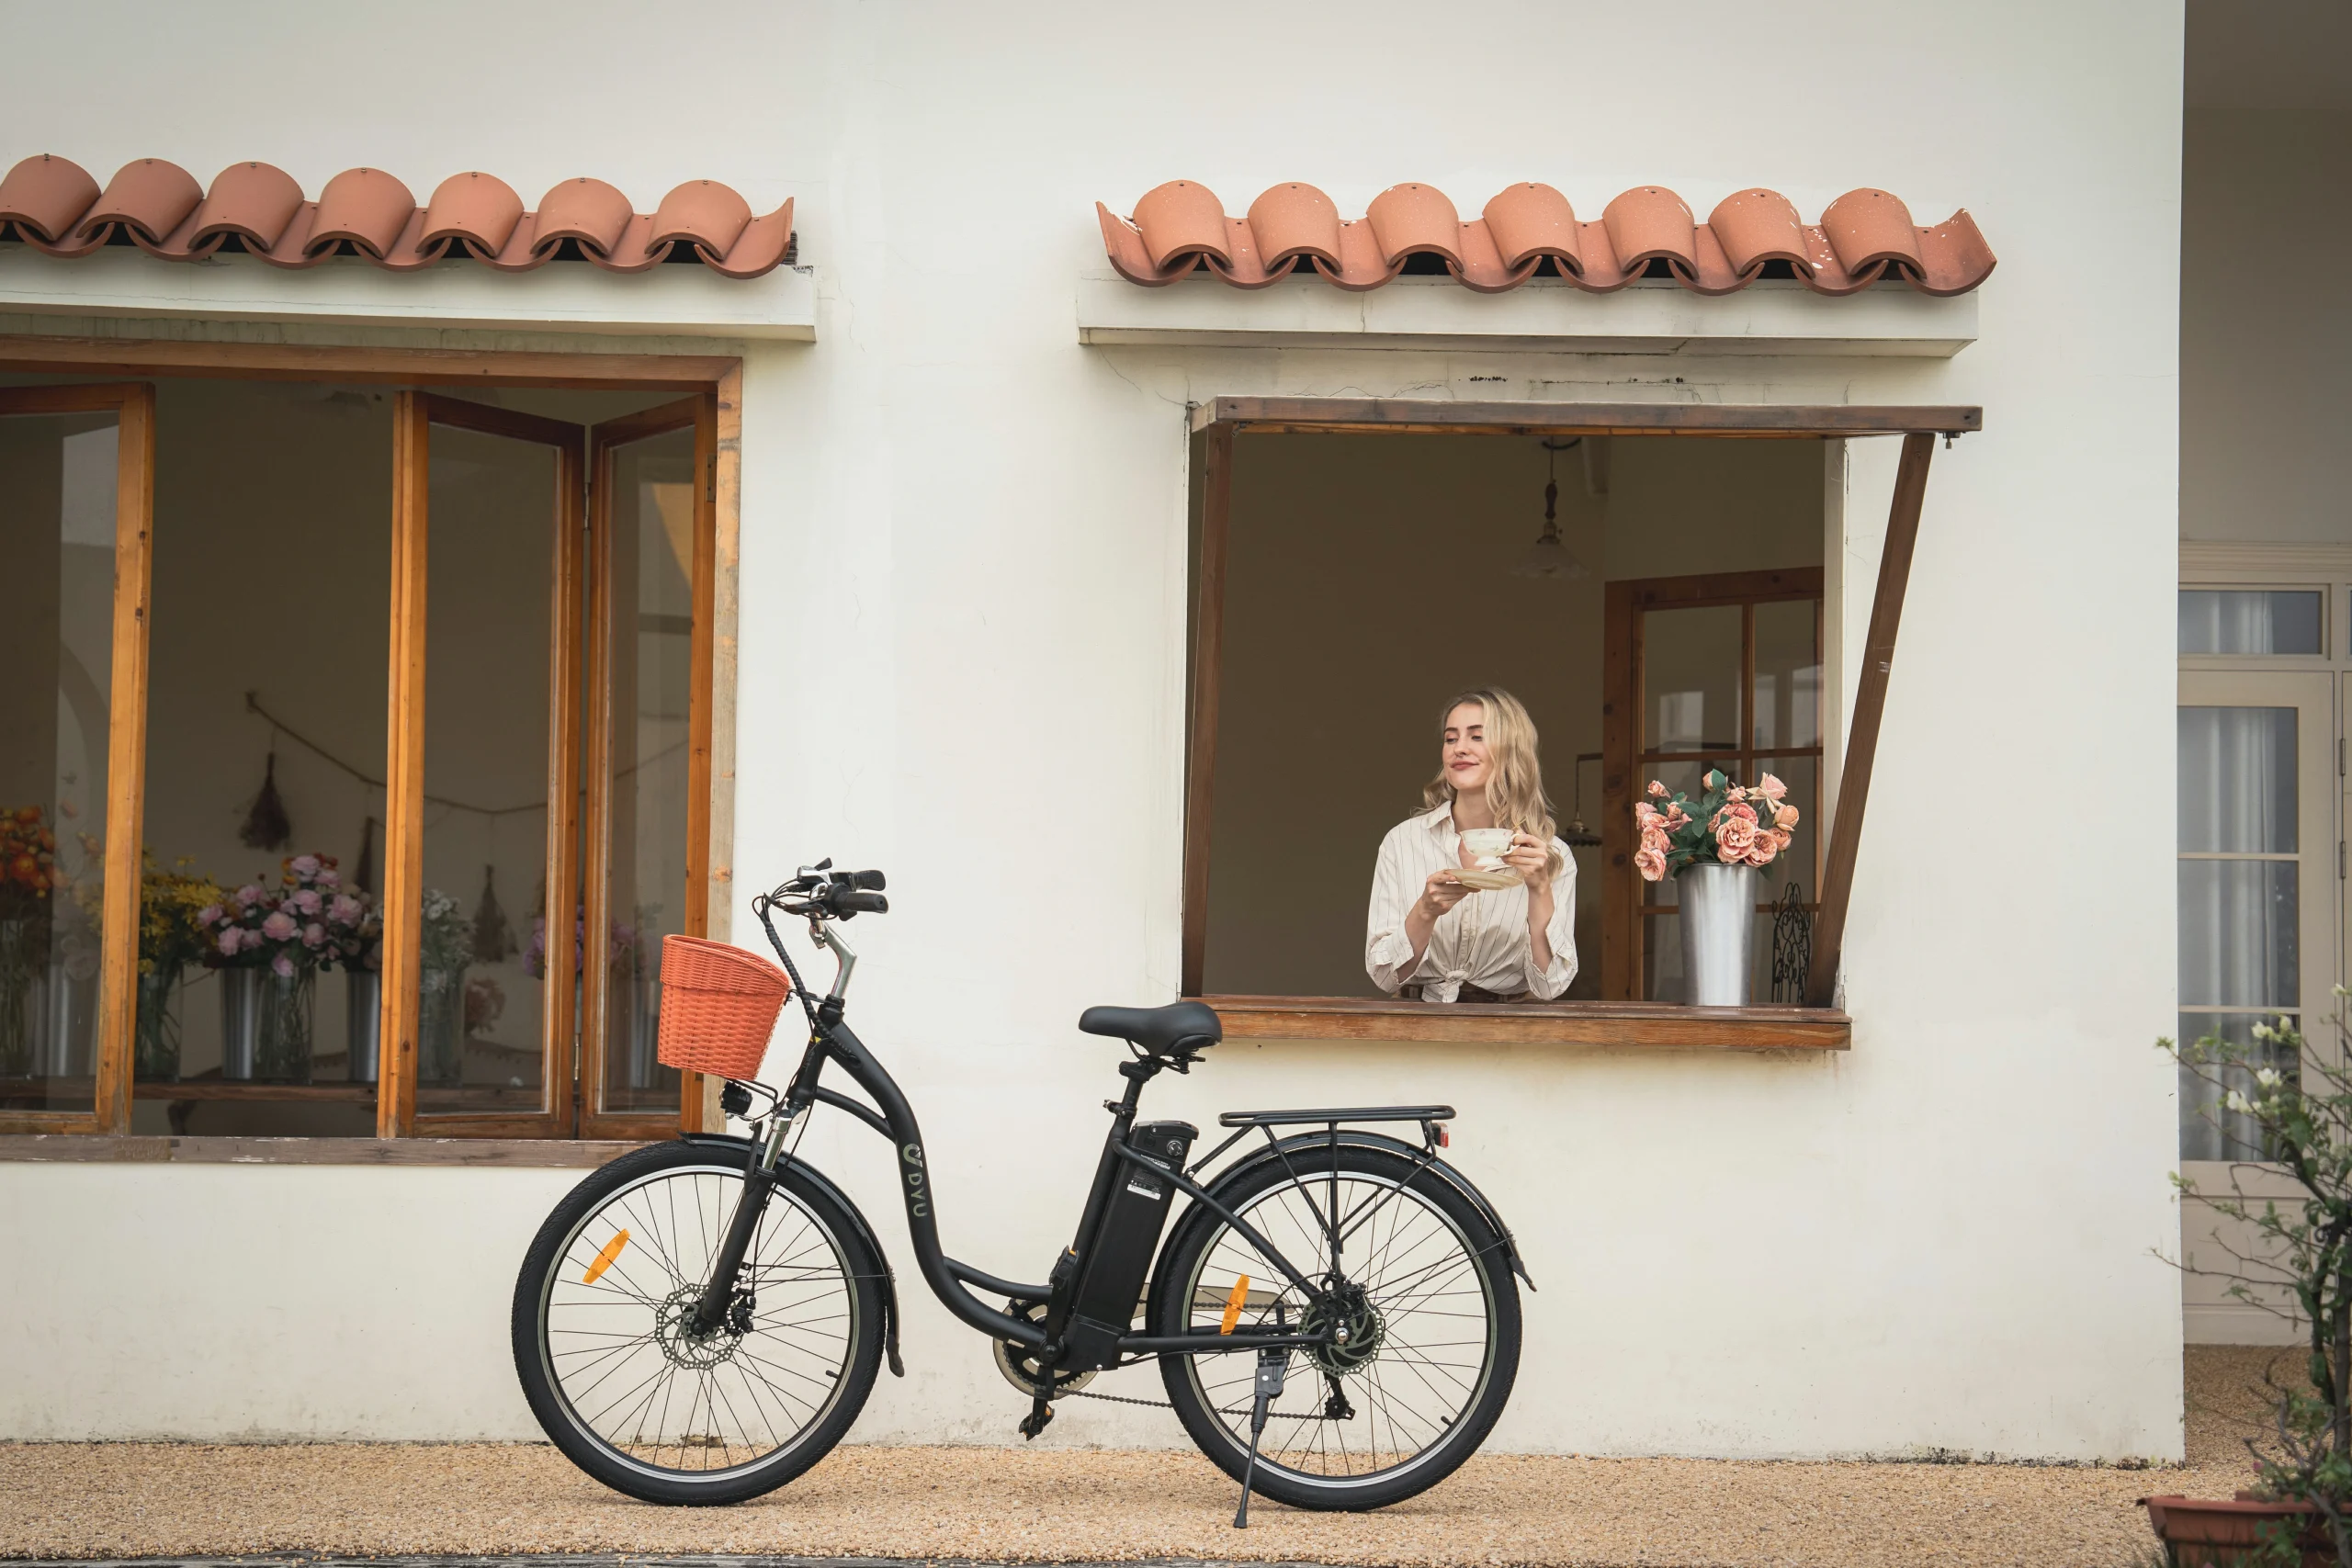
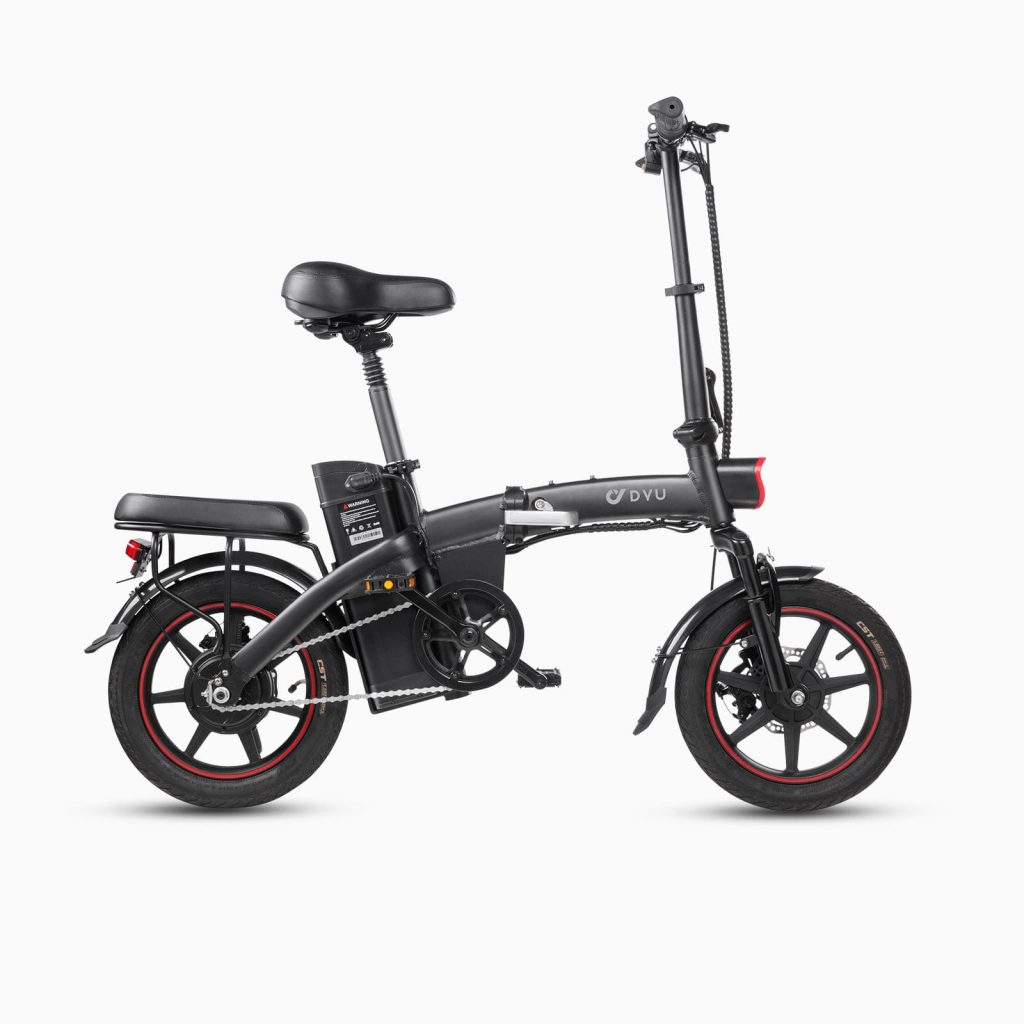
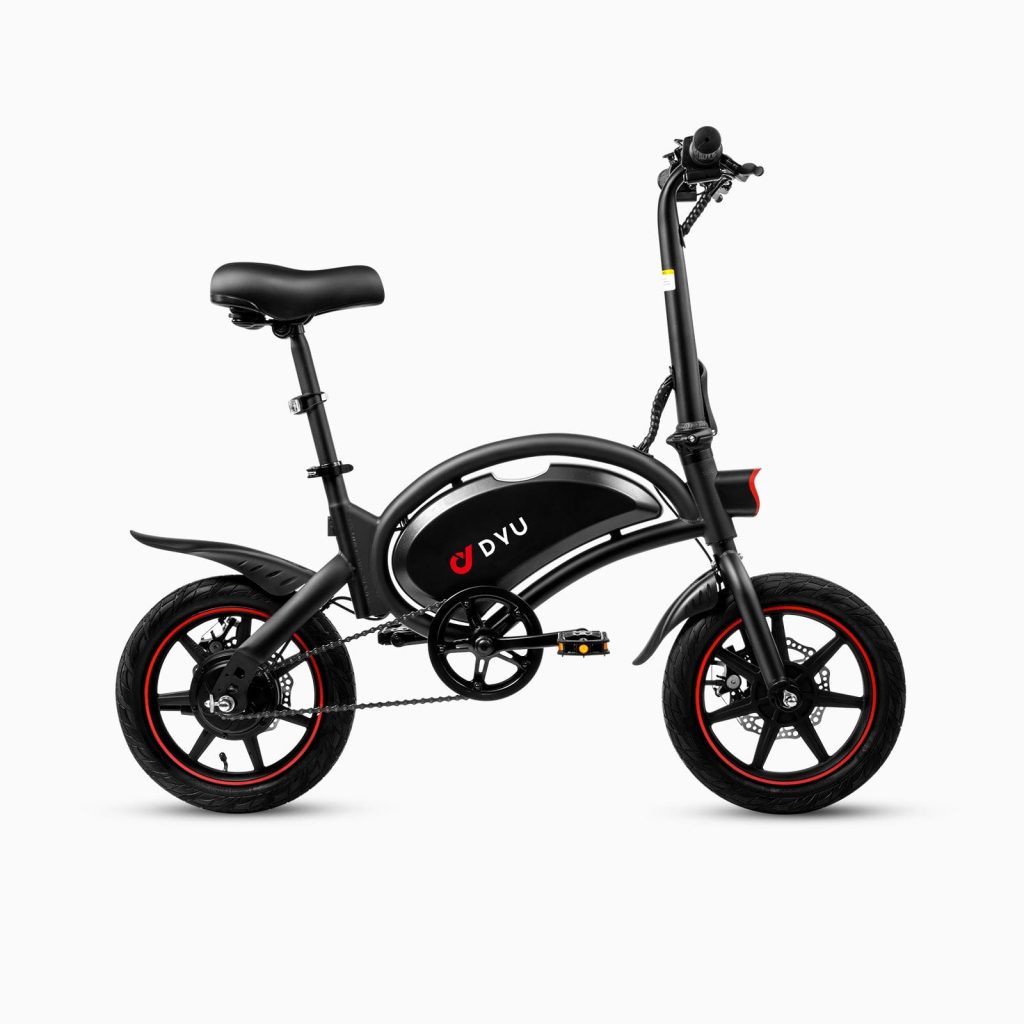
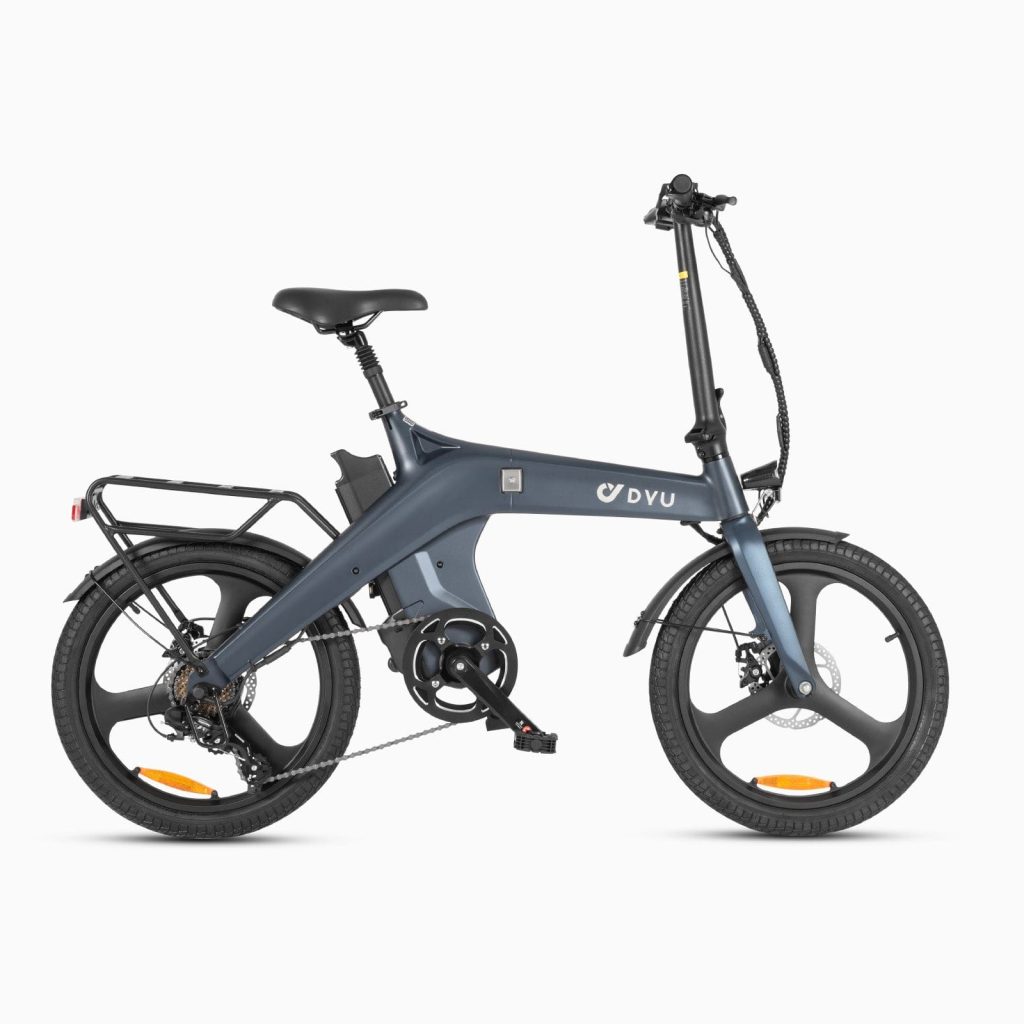
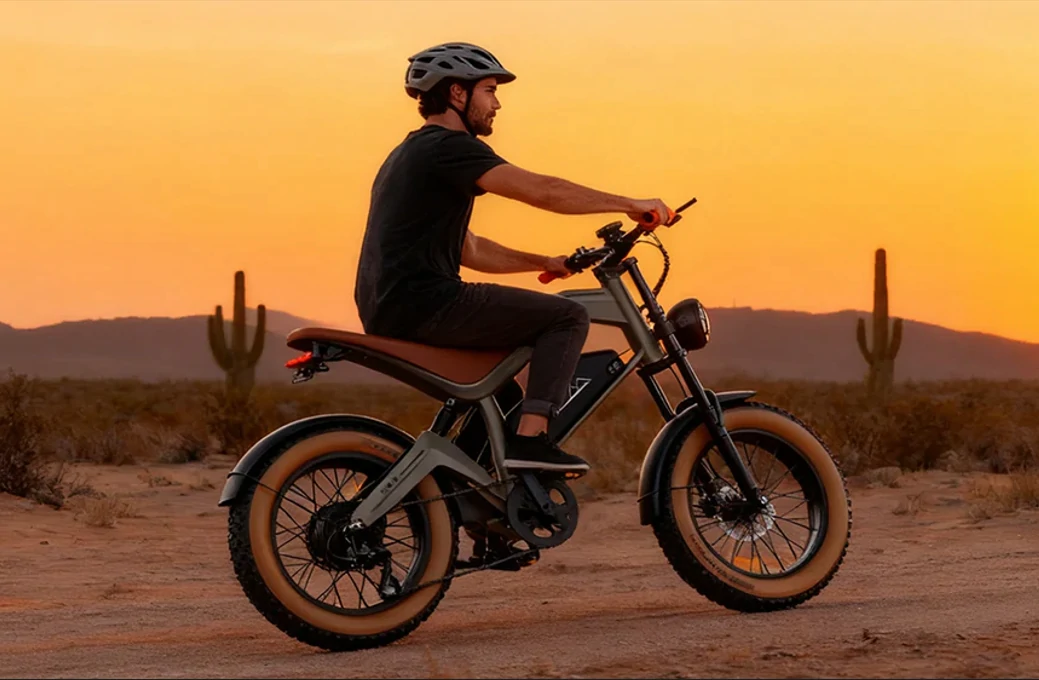
That matters because not every powerful electric bike is meant for public roads. For example, the DYU M20 is listed as an all-terrain model with 20×4.0-inch fat tyres, hydraulic disc brakes and suspension at the front fork and seat. It is also marked for off-road use only. I like that clarity. A powerful bike can be useful on private land and rough terrain, but it should not be treated as a normal public-road pedelec unless the local rules allow it.
My quick pre-ride check takes less than two minutes:
- Tyres feel firm enough to stop rim strikes, but not rock hard.
- Both brakes bite before the levers touch the grips.
- Battery is locked in place and not rattling.
- Handlebar, stem and saddle are tight.
- Route is legal, open and realistic for the bike.
Skip that check once and you may get lucky. Skip it often and the trail will eventually collect payment.
Tyre Pressure, Grip and Line Choice
Tyre pressure is the first free tuning tool on an off-road e-bike. Too high and the bike skips across loose stones. Too low and the tyre can squirm, pinch or hit the rim on sharp edges.
BikeRadar’s mountain bike tyre pressure guide makes a useful point for e-bike riders: the right pressure depends on tyre width, rider weight, casing, terrain and bike weight. Electric bikes often need a little more pressure than a similar non-electric bike because the total system weight is higher.
Here is the simple version I use when setting up for gravel or light dirt:
| Terrain | Setup priority | Riding technique | Common mistake |
|---|---|---|---|
| Hard-packed gravel | Moderate pressure for rolling speed | Look far ahead and choose the smoothest line | Over-correcting every small stone |
| Loose gravel | Slightly lower pressure for grip | Stay loose through the arms and avoid sudden steering | Braking hard in the middle of a turn |
| Dry dirt | Enough pressure to protect the rim | Keep pedalling smooth and seated on climbs | Using max assist too early |
| Wet forest path | Grip and predictable braking | Brake early, ride slower and avoid shiny roots | Trusting the motor more than the surface |
Line choice is the other half of tyre setup. A good line is not always the shortest one. On gravel, it is usually the line that lets you keep the bike upright, brake less and stay relaxed.
I learned this on a wide farm track near Milan. The centre of the path looked smooth from a distance, but it was covered in marble-sized loose stones. The edge had packed dirt with a few shallow ruts. Riding the edge was slower for the first five metres, then faster for the next fifty because the tyres stopped wandering.
When in doubt, lift your eyes. BikeRadar’s gravel riding guide gives the same advice: the faster you ride, the further ahead you need to look. Your front wheel usually goes where your eyes have already accepted.
How to Brake on Loose Surfaces Without Sliding
Braking off-road is not about grabbing more lever. It is about timing. The biggest beginner mistake is braking deep into a loose corner, when the tyre is already trying to steer and grip at the same time.
Do most of your braking before the turn. Enter slower than your ego wants, release pressure as the bike leans, then let the tyres roll through the corner. If you need to adjust speed mid-corner, use gentle pressure. A locked wheel has very little imagination. It just goes straight.
This is where brake feel matters. I wrote a separate guide on hydraulic vs mechanical disc brakes on e-bikes, but the short version for off-road riding is simple: predictable modulation is worth more than peak stopping power. You want to feel exactly how close the tyre is to sliding.
Try this drill in a safe open area:
- Ride at jogging speed on loose gravel.
- Use only the rear brake until it starts to skid.
- Release immediately and feel how control returns.
- Repeat with more gentle pressure.
- Add the front brake carefully, keeping your weight balanced.
That last step matters. Many riders fear the front brake off-road, but the front tyre does a lot of the stopping work. The trick is to load it smoothly, not stab at it.
Climbing Technique: Smooth Torque Beats Sudden Power
Electric assist can make climbing feel easy, which is exactly why it can make you sloppy. On loose climbs, sudden power breaks traction. Smooth power keeps the rear tyre hooked up.
My rule is to choose the assist level before the climb, not halfway up it. If you change modes while the rear wheel is already slipping, you are usually too late. A lower assist level with steady pedalling often climbs better than max assist with a jerky cadence.
Use these habits on steep gravel or dirt climbs:
- Stay seated longer than you would on a road bike to keep weight on the rear tyre.
- Slide slightly forward on the saddle if the front wheel starts to wander.
- Keep elbows soft so the front wheel can track small bumps.
- Pedal in circles, not stomps.
- Pick one clean line and commit to it early.
The moment I feel the rear tyre spin, I do not add more power. I ease pressure for half a pedal stroke, let the tread reconnect, then build again. It feels slower. It is usually faster.
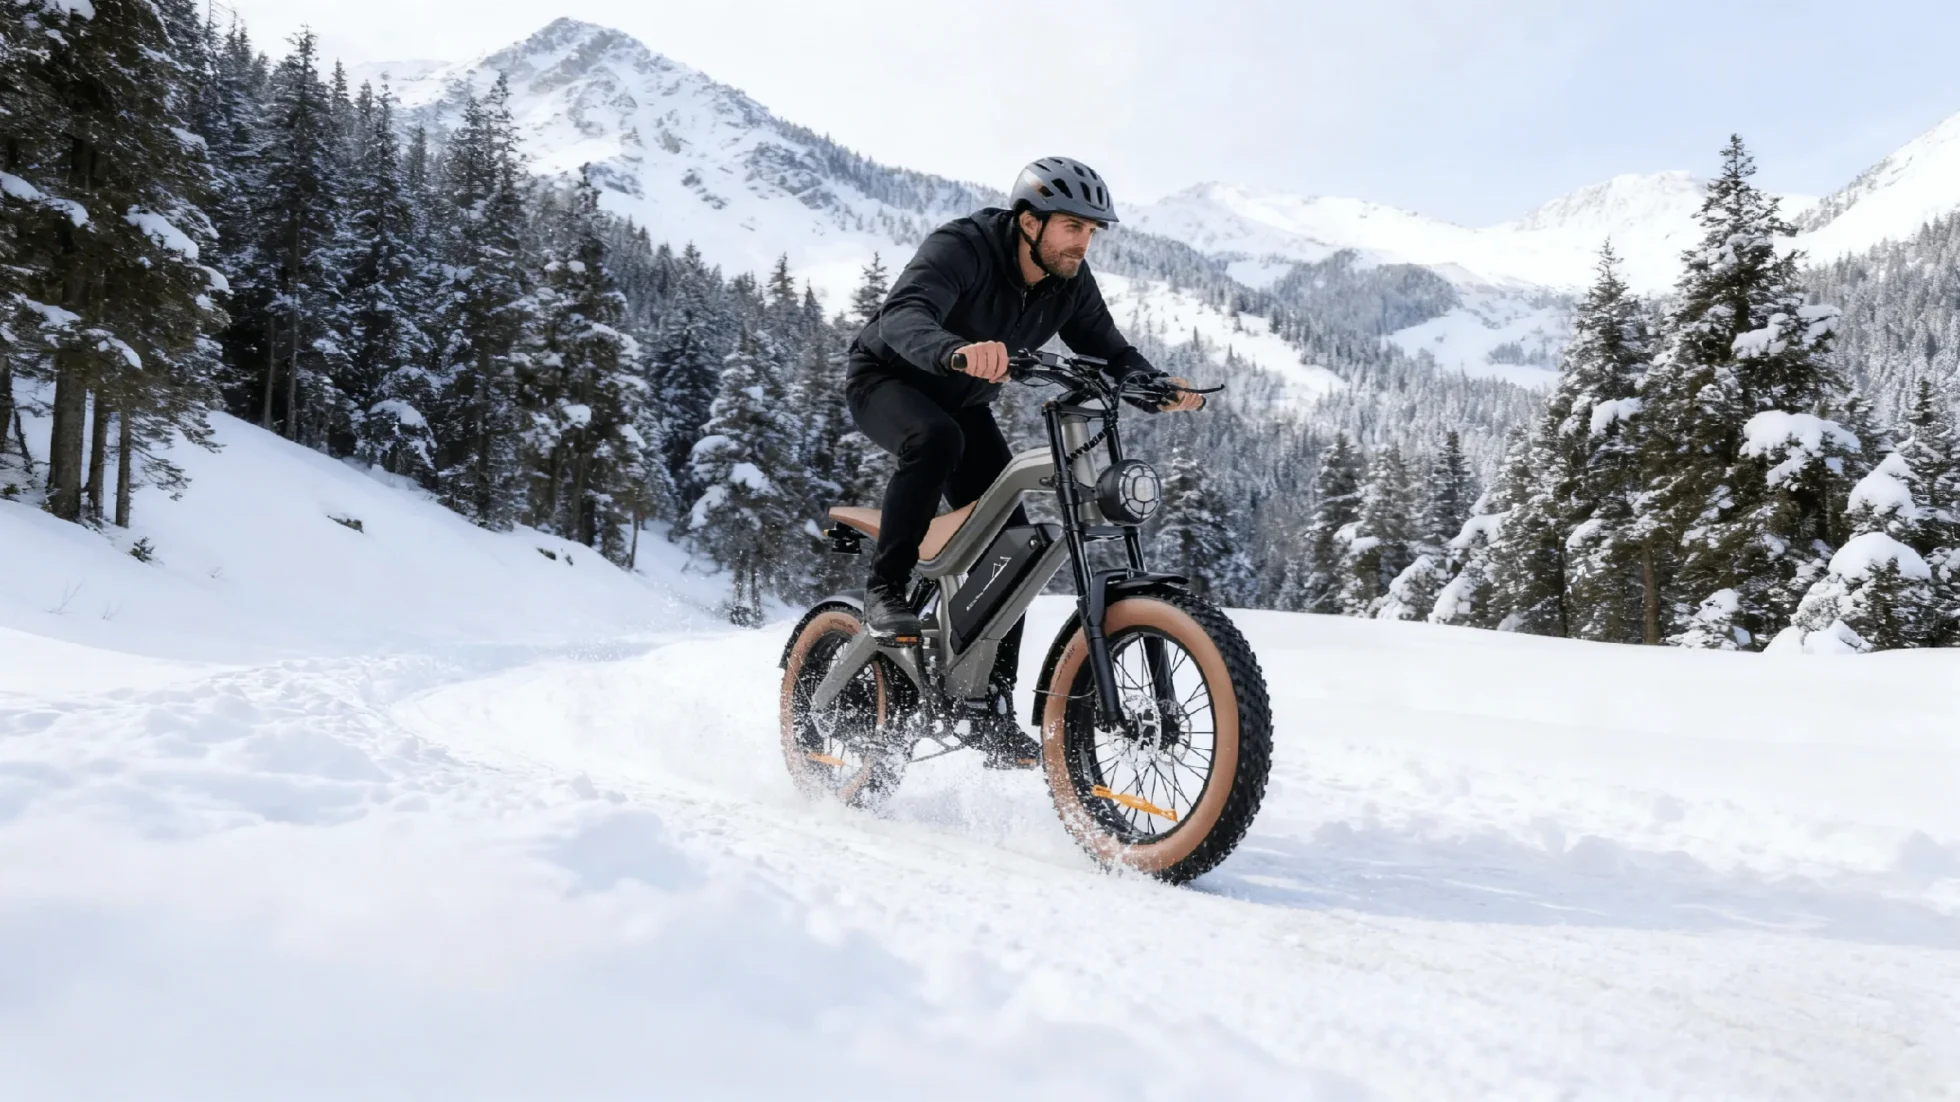
Descending Technique: Let the Bike Move Under You
Descending on an e-bike feels different because the bike is heavier. That extra weight can make the ride feel planted, but it also means mistakes carry more momentum.
Stand with level pedals, heels slightly dropped and knees bent. Your hands guide the bike; they should not hold your whole body up. If your arms are locked, every stone pushes your shoulders. If your body is loose, the bike can move underneath you without dragging you off line.
Here is the small checklist I use before a loose descent:
- One finger resting on each brake lever.
- Eyes looking to the exit, not the obstacle.
- Weight centred, not hanging behind the saddle.
- Braking done in straight sections where possible.
- Enough speed to stay stable, but not so much that every correction becomes urgent.
A strange thing happens when you stop staring at the rock you fear. You often miss it. That is not magic. It is line choice finally doing its job.
Battery and Motor Management on Rough Ground
Off-road riding uses more energy than smooth city riding. Soft surfaces, frequent accelerations and climbing all ask the motor for more current. That is why a ride that looks short on the map can eat battery faster than a flat commute of the same distance.
Good off-road e-bike technique saves battery because it reduces wasted acceleration. Every rear-wheel spin is energy turned into dust. Every panic brake before a corner is energy you paid for ten seconds earlier.
I use three simple battery habits on rough rides:
- Start in a middle assist level and only increase it for specific climbs.
- Keep cadence steady instead of grinding slowly in a hard gear.
- Leave a larger battery reserve than I would for a city route.
Battery care matters after the ride too. Lithium-ion batteries use a controlled charging process, and Battery University explains the basic constant-current and constant-voltage stages clearly. For normal riders, the practical takeaway is easier: use the correct charger, avoid charging a very hot battery immediately after a hard ride and do not store the bike for weeks with a completely empty battery.
A Simple 30-Minute Practice Plan
You do not need a mountain bike park to improve. A quiet gravel path, an empty dirt lot or a wide forest road is enough. The goal is not to look dramatic. The goal is to make the bike feel boringly predictable.
- Five minutes: braking feel. Ride slowly and practise stopping with smooth pressure. Learn where each tyre starts to lose grip.
- Five minutes: straight-line balance. Ride over small stones or uneven dirt while keeping your eyes far ahead.
- Ten minutes: corner entries. Brake before the turn, release, then roll through. Repeat until you stop grabbing the brake mid-corner.
- Five minutes: seated climbing. Find a mild slope and climb it with steady cadence, not sudden torque.
- Five minutes: gear and assist changes. Practise changing before the terrain changes, not after you are already struggling.
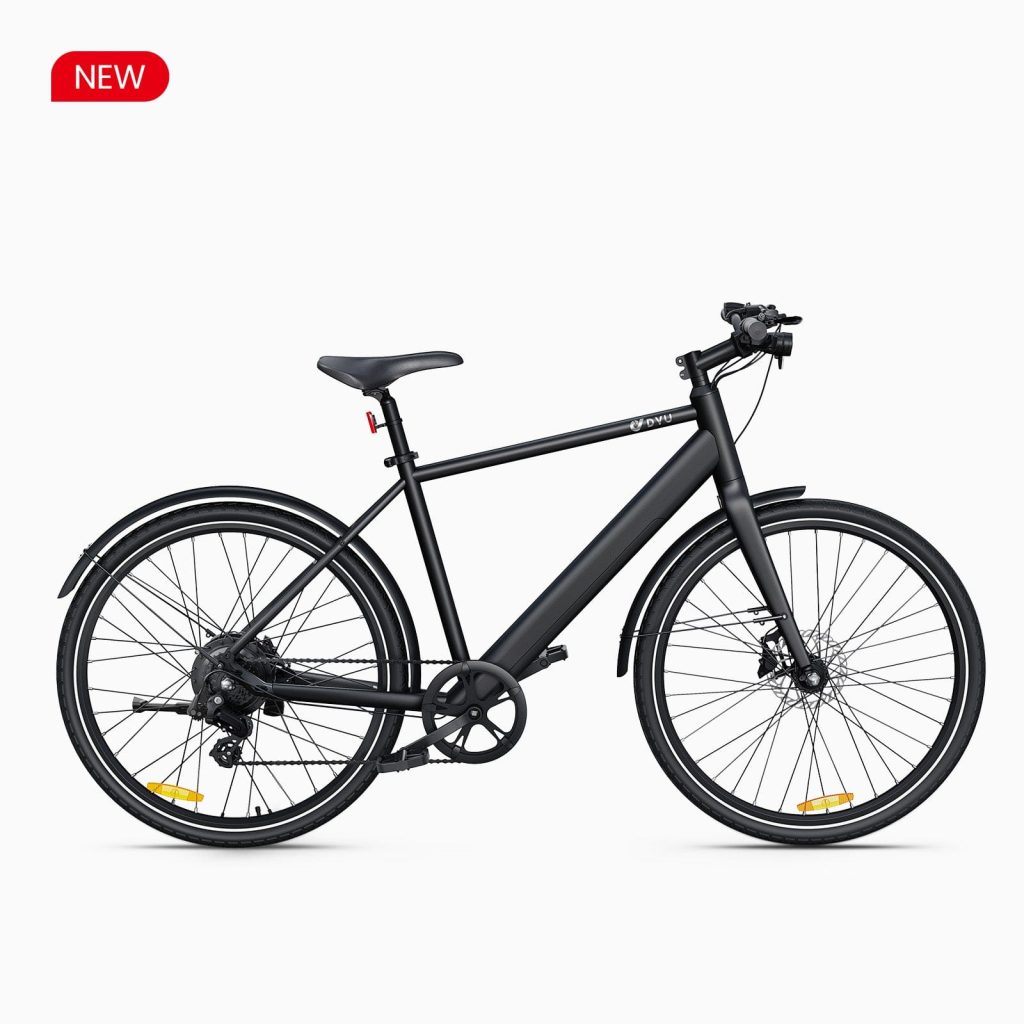
If you want to compare bikes for mixed road and trail use, start with the DYU e-bikes page and pay close attention to tyre size, brake type, weight and intended riding category. A fat-tyre bike can feel calm on loose ground, but it will not magically fix poor braking or bad line choice.
What I Check After Every Dirty Ride
The ride is not finished when you get home. Dirt hides small problems, and e-bikes have a few extra parts worth checking.
- Wipe the chain and drivetrain before grit turns into grinding paste.
- Check brake rotors for mud, noise or rubbing.
- Look at tyre sidewalls for cuts.
- Make sure the battery port and charging area are dry before charging.
- Listen for new rattles on the next short ride.
Fat-tyre riders should be especially honest about tyre damage. The extra volume feels forgiving, but sidewall cuts still happen. If you are shopping specifically for wide-tyre stability, the fat tire e-bike category is a useful place to compare options. Just remember that maintenance still matters.
Bottom Line: Ride Smooth Before You Ride Fast
The best electric bike off-road riding tips are not complicated. Look ahead. Brake early. Stay loose. Use steady power. Respect the surface. Check the bike before and after the ride.
That sounds almost too simple, but simple is what works when the trail gets loose. A powerful motor can help you climb. Wide tyres can add confidence. Good brakes can save a bad moment. Still, the rider has to connect all of it together.
If you are new to gravel and dirt, give yourself a few rides before chasing speed. Build the habit first. Once the bike starts feeling calm under you, speed arrives quietly.
FAQs
Q1. Can electric bikes go off-road?
Some electric bikes can handle gravel, dirt roads and light trails, but not every e-bike is built for off-road use. Check the tyre size, brakes, frame design, suspension and the manufacturer’s intended use before riding away from paved roads.
Q2. What tyre pressure should I use for off-road e-bike riding?
There is no single correct pressure because rider weight, bike weight, tyre width, casing and terrain all matter. Start within the tyre manufacturer’s printed range, use a reliable gauge and adjust in small steps until the bike grips without feeling unstable or hitting the rim.
Q3. Are fat tyres better for off-road e-bikes?
Fat tyres can improve comfort and stability on loose surfaces because they have more air volume and a wider contact patch. They are not automatically faster or safer, though. Braking technique, line choice and correct pressure still matter.
Q4. How do you brake on gravel with an e-bike?
Brake early while the bike is upright, then release pressure before the tightest part of the turn. Use both brakes smoothly rather than grabbing one lever suddenly. The goal is to slow the bike before the tyre has to steer hard.
Q5. Does off-road riding drain an e-bike battery faster?
Yes, it often does. Loose ground, climbing, repeated acceleration and higher rolling resistance all increase motor load. Smooth pedalling, moderate assist and clean line choice help conserve battery on rough routes.
