




A helmet can meet every label on the box and still sit badly enough to move when you need it most. This e-bike helmet fit guide is the routine I use for city riding: choose the right size, set the shell level, adjust the straps, test movement, and check the helmet again before every ride.
That sounds basic. It is. Yet I regularly see riders leave a station with the helmet tilted back like a cap, a loose chin strap hanging below the jaw, or a thick hat changing the fit. Electric assistance does not make those small mistakes disappear. It simply lets a rider reach normal city speed with less effort.
The goal here is not to turn a helmet into a promise of safety. No helmet can prevent every injury, and it never replaces controlled speed, working brakes, good lights, or attention. The goal is simpler: make sure the protection you chose is positioned and secured as its maker intended.
E-Bike Helmet Fit Guide: Start with the Right Size
I begin with a soft measuring tape placed level around the widest part of my head, just above the eyebrows and ears. I record the measurement in centimetres, then check the size chart for the exact helmet model. A medium from one maker can feel very different from a medium made for another head shape.
Size is only the first gate. The shell should contact the head evenly, without a sharp pressure point at the forehead or temples. If the retention dial must be fully open just to get the helmet on, or fully closed to stop it rocking, I try another size or shape. Padding can improve comfort, but it should not rescue a shell that is fundamentally wrong.
| Fit check | What I look for | Warning sign |
|---|---|---|
| Size | Head measurement falls within the maker’s stated range | Measurement sits outside the range |
| Pressure | Even contact around the head | Pinching at one spot or a large side gap |
| Retention dial | Useful adjustment remains in both directions | Dial reaches its limit |
| Position | Shell sits level and low on the forehead | Front edge tips high or blocks vision |
| Movement | Helmet follows the skin when gently moved | Shell slides independently |
The European Commission’s overview of cyclist road safety notes the protective value of a properly designed helmet. Rules are not identical across Europe, however. Age requirements and helmet laws can vary by country and by vehicle class, so I check the current local rule wherever I ride.
Set the Helmet Low and Level
Once the size is right, I loosen the straps and retention dial before placing the helmet on my head. Then I set it level. The front should sit low enough to protect the forehead without blocking my view. BikeRadar’s practical guide to wearing a bicycle helmet correctly suggests roughly one to two finger widths above the brow.
Next, I tighten the rear dial gradually. The shell should feel snug, not painful. I should be able to look down at the road, turn my head for a shoulder check, and open my mouth without the helmet creeping forward or backward.
Shape the side straps around each ear
The two side straps should meet in a tidy V just below each ear. If the junction sits too far forward, the rear strap may not control backward movement. If it sits too far behind, the front strap may not hold the helmet down correctly.
I adjust one side at a time, then check from both sides in a mirror. Hair, glasses, and earphones can disguise an uneven setup. I never route a strap over a glasses arm because that can change tension and make the glasses awkward to remove.
Set the chin strap without choking yourself
The buckle should close under the jaw rather than on the point of the chin. I tighten it until I can fit a small amount of space between strap and skin, then open my mouth. The helmet should pull down slightly as the jaw moves. If it does nothing, the strap is usually too loose.

Use Movement Tests, Not Just a Mirror
A helmet can look perfect in a mirror and still move too much. I use three quick tests after every major adjustment. First, I shake my head gently from side to side. Second, I press the front edge upward. Third, I pull the rear edge forward. The skin should move with the padding, while the shell stays in its intended position.
I learned to repeat this after changing anything underneath the helmet. On one cool morning I loosened the fit to accommodate a thin cap, removed the cap at lunch, and forgot to retighten the dial. At the first junction, the shell shifted when I turned for a shoulder check. Nothing dramatic happened, but the lesson was clear: a morning setup is not automatically an afternoon setup.
- Side-to-side test: the helmet should not swing freely around the head.
- Front lift test: the brow should not become exposed when the front edge is lifted gently.
- Rear roll test: the helmet should not slide forward over the eyes.
- Vision test: the shell and any visor should not block a normal shoulder check.
- Comfort test: five minutes indoors should not create a sharp pressure point.
Cycling UK’s helmet-fitting guidance makes the same practical point: a helmet needs to fit, adjust, and sit correctly if it is to work as intended. Comfort matters because a helmet that causes pain is likely to be loosened, pushed back, or left at home.
Make the Fit Work with Real Commuting Gear
City riders rarely wear a helmet in perfect indoor conditions. There may be glasses, tied hair, a hearing aid, a rain cover, or a thin winter layer. I fit the helmet around the items I genuinely use, then confirm that none of them changes the shell position or interferes with the buckle.
Thick knitted hats are a common problem. They can compress during a ride and create slack. Unless the helmet maker specifically approves a liner, I prefer a thin cycling cap or skull cap designed to sit smoothly. I never add foam, cut the liner, drill the shell, or glue an accessory to it.
Rain creates another small trap. Wet straps can feel different, and a hood can catch air or limit the ability to look behind. My rain-riding routine is to keep the hood outside the helmet only when it does not obstruct vision or movement, and to slow down before every shoulder check.
Keep the pads and straps clean
Sweat, sunscreen, and city dust build up faster than many riders expect. I follow the maker’s cleaning instructions, usually with mild soap, cool water, and air drying. Strong solvents, high heat, and a washing machine can damage materials or adhesives.
After cleaning, I rethread nothing by memory. I use the manual or a photo taken before removal. Twisted straps are uncomfortable and can stop the tension from distributing evenly.

Add a 60-Second Pre-Ride Safety Routine
A well-fitted helmet is one layer, not the whole system. Before leaving, I spend about a minute checking the rider, the bike, and the route. This is especially useful after someone else has moved the bike, after charging, or after the helmet has been carried in a bag.
- Helmet: shell level, dial snug, straps flat, buckle closed.
- Vision: glasses clear, hood controlled, shoulder checks unrestricted.
- Bike: tyre feel, brake response, handlebar alignment, battery secure.
- Visibility: front and rear lights working, reflective details visible.
- Route: first busy junction identified and speed reduced before it.
New riders can combine this with the site’s first e-bike guide. Riders who park outside should also plan the end of the journey, because a loose helmet left on the handlebar is easy to damage or lose; the e-bike theft prevention guide covers the bike-locking side of that routine.
BikeRadar’s guide to essential cycling equipment also places the helmet inside a wider preparation routine. I pair it with visibility, predictable riding, and awareness of other road users, treating each layer as useful but never as permission to ride faster than the street allows.
Where the DYU C5 Fits This Safety Routine
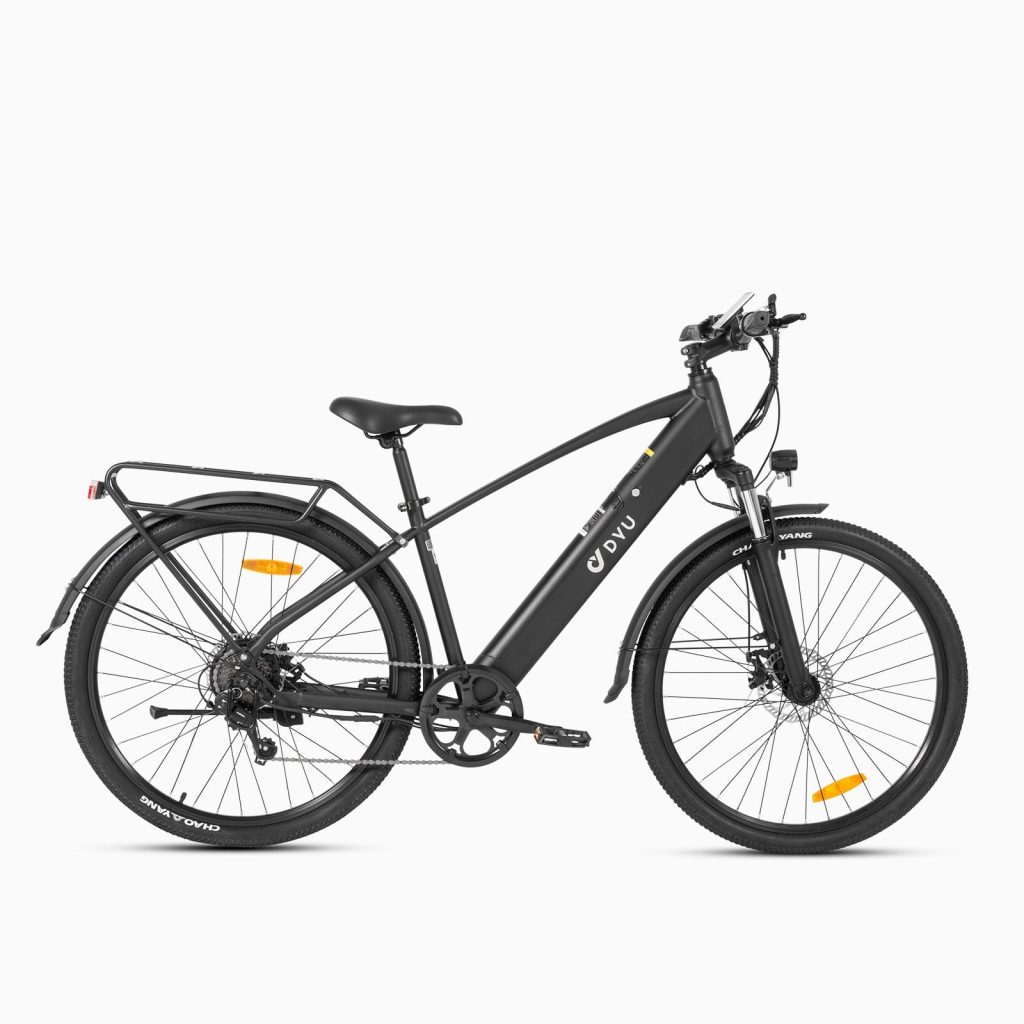
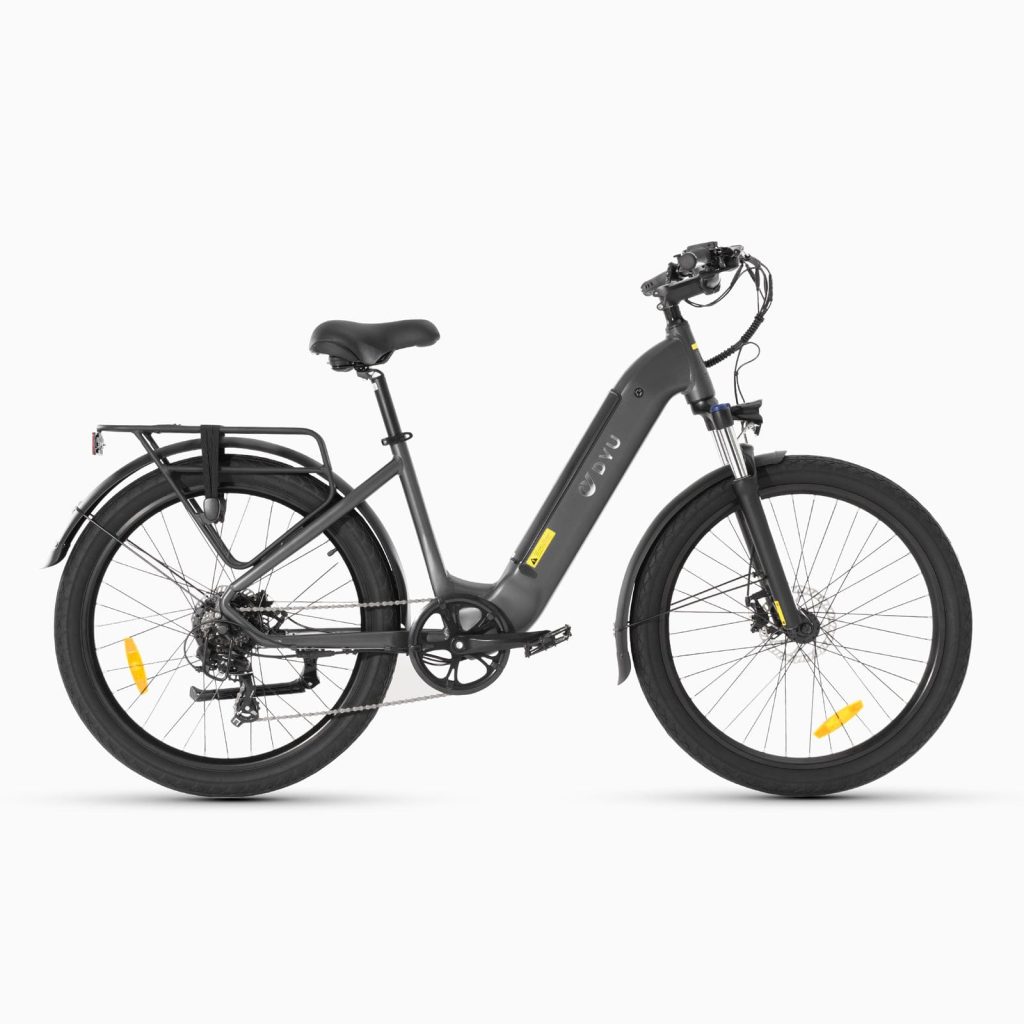
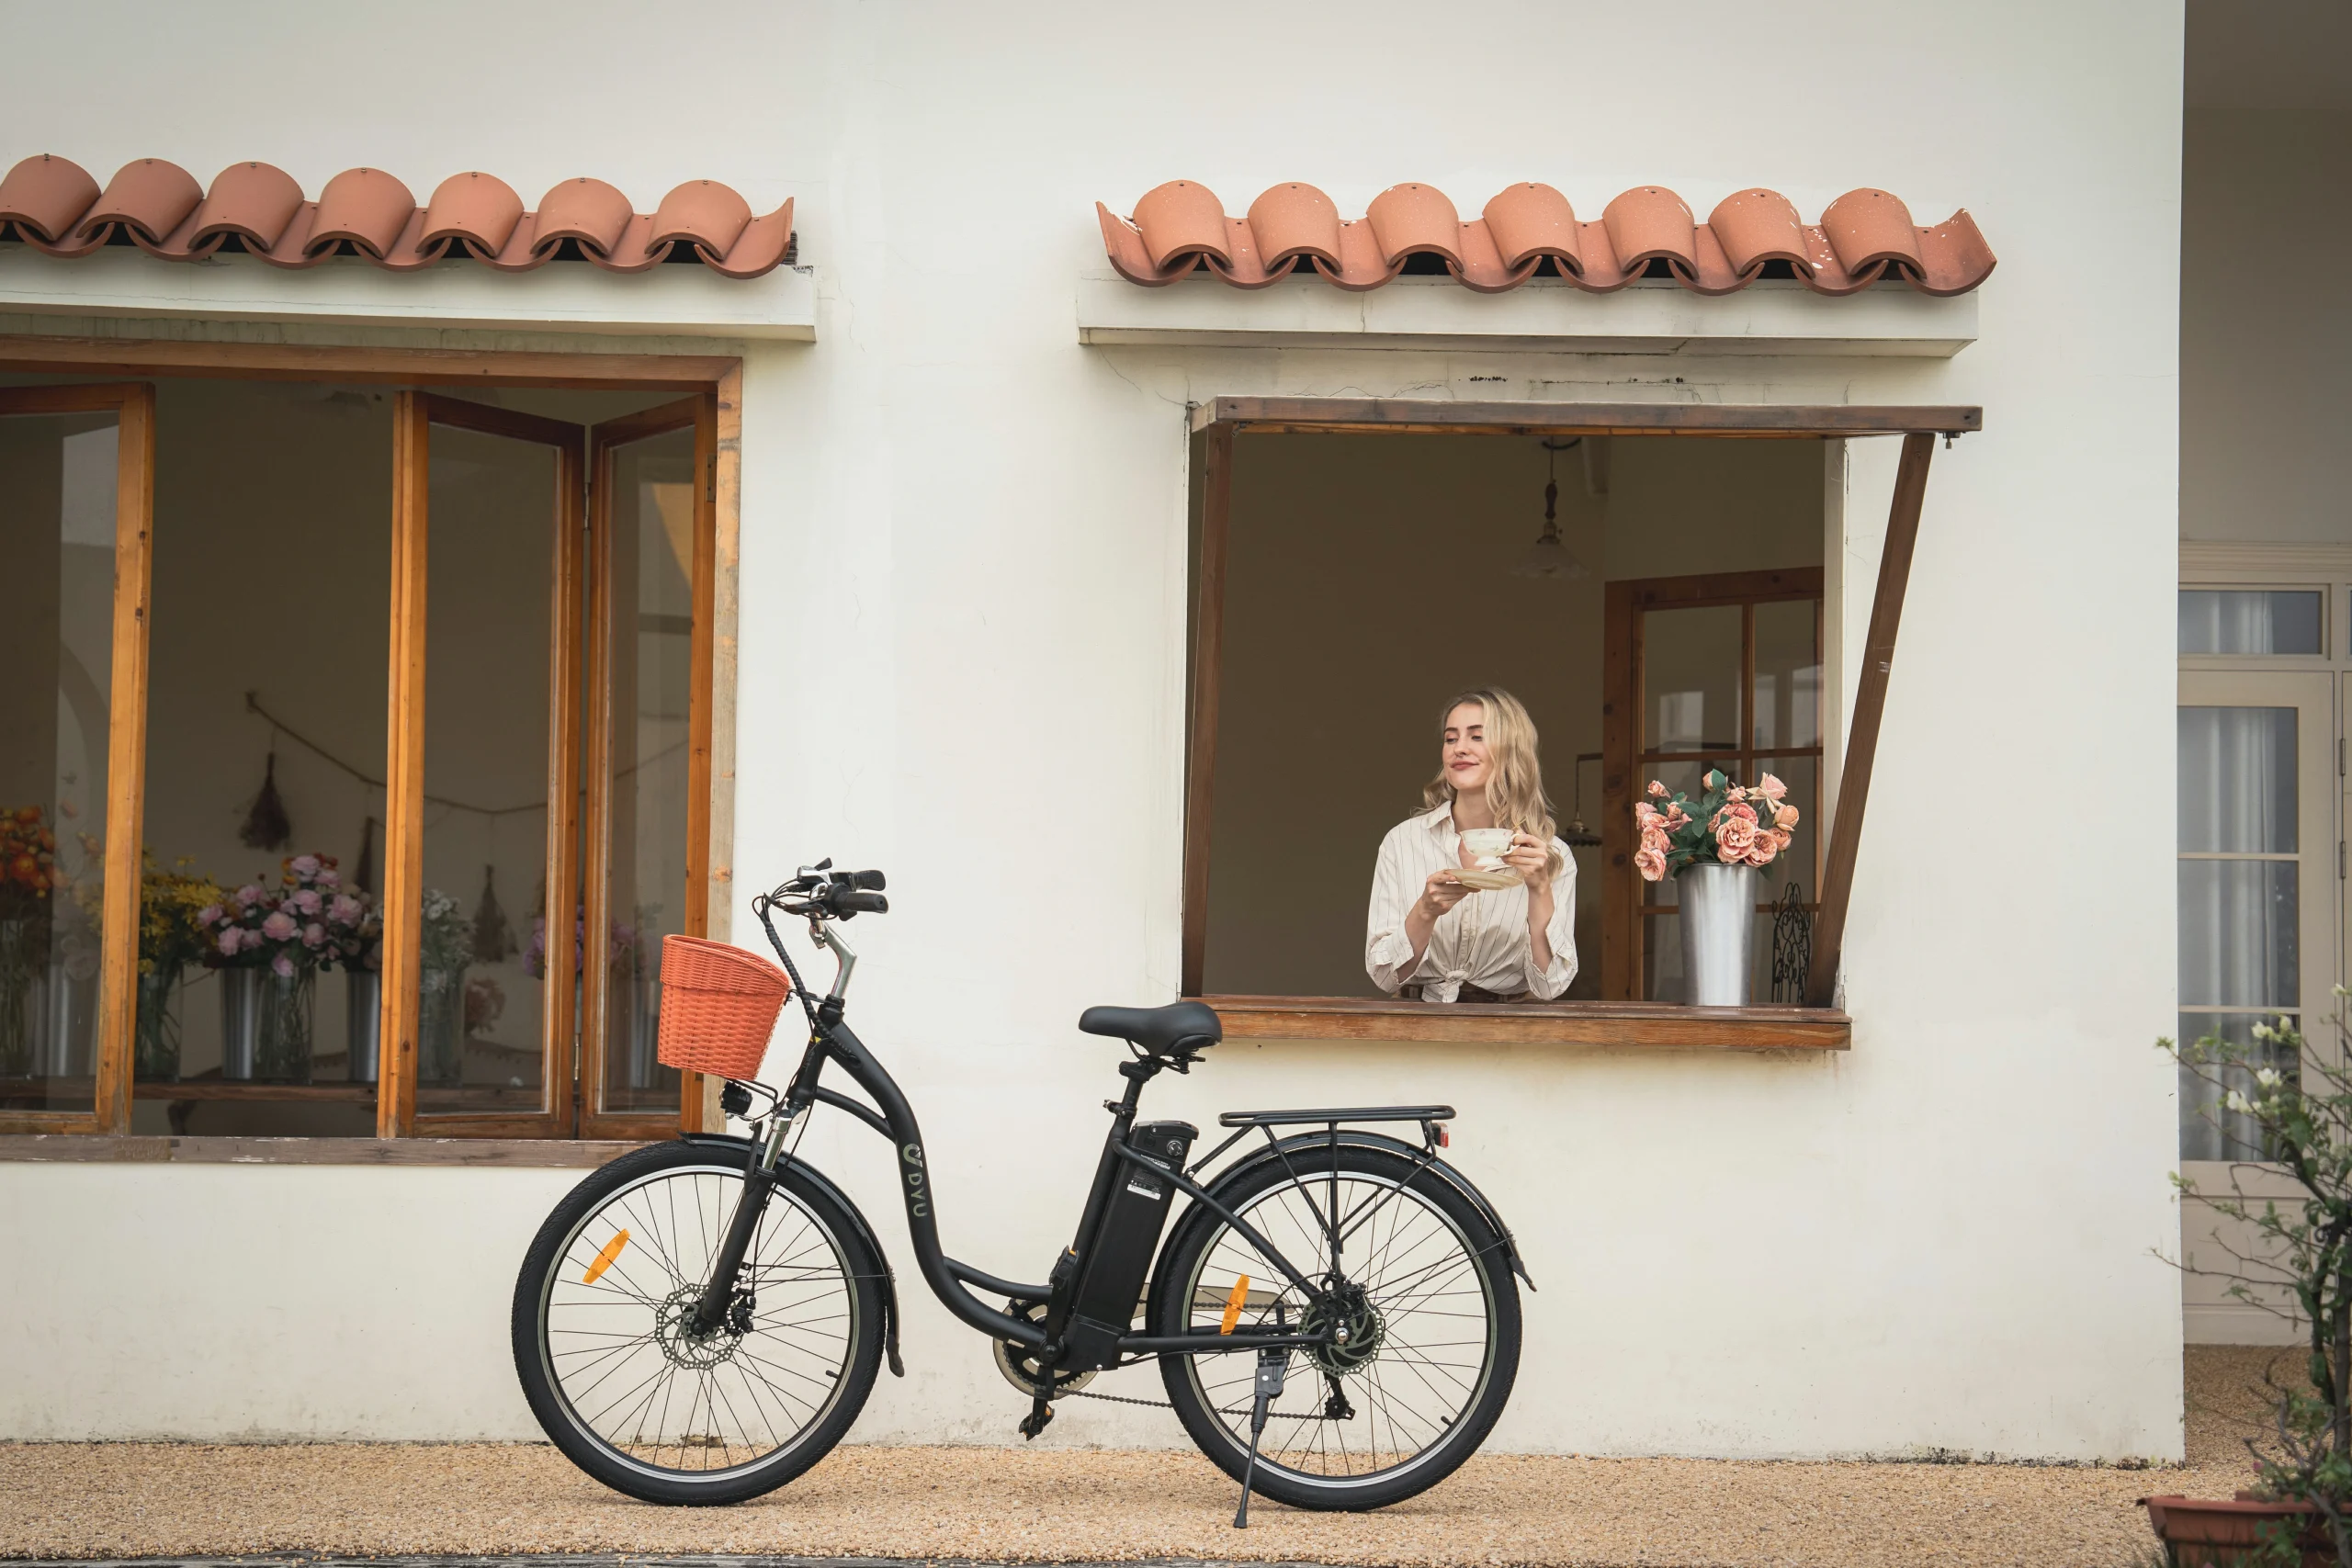
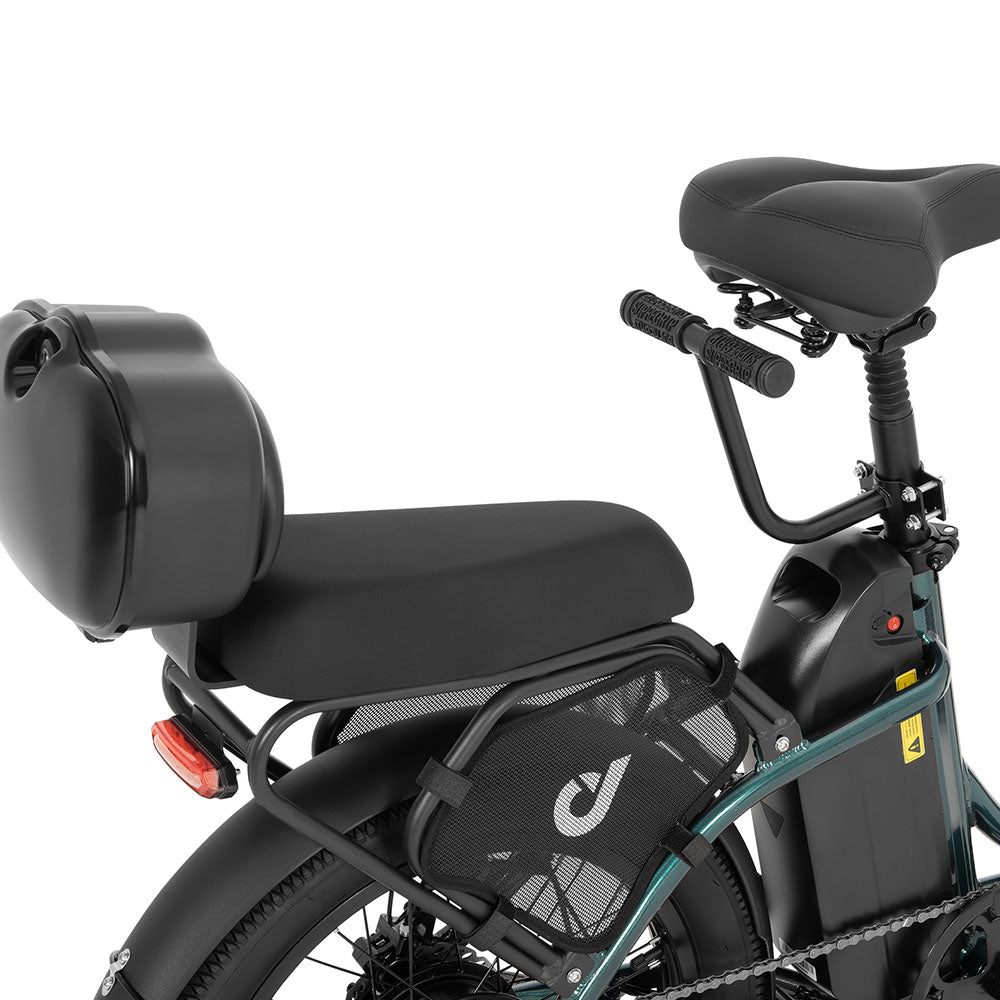
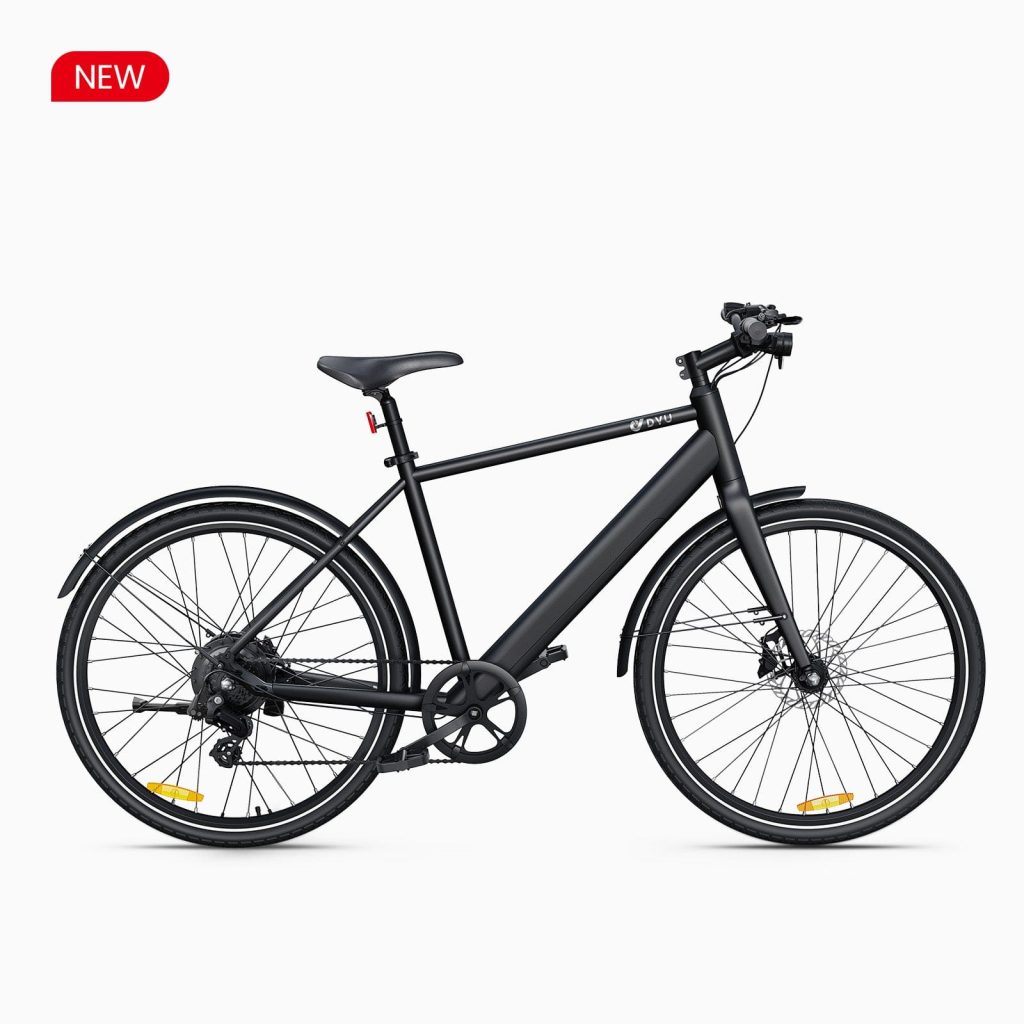
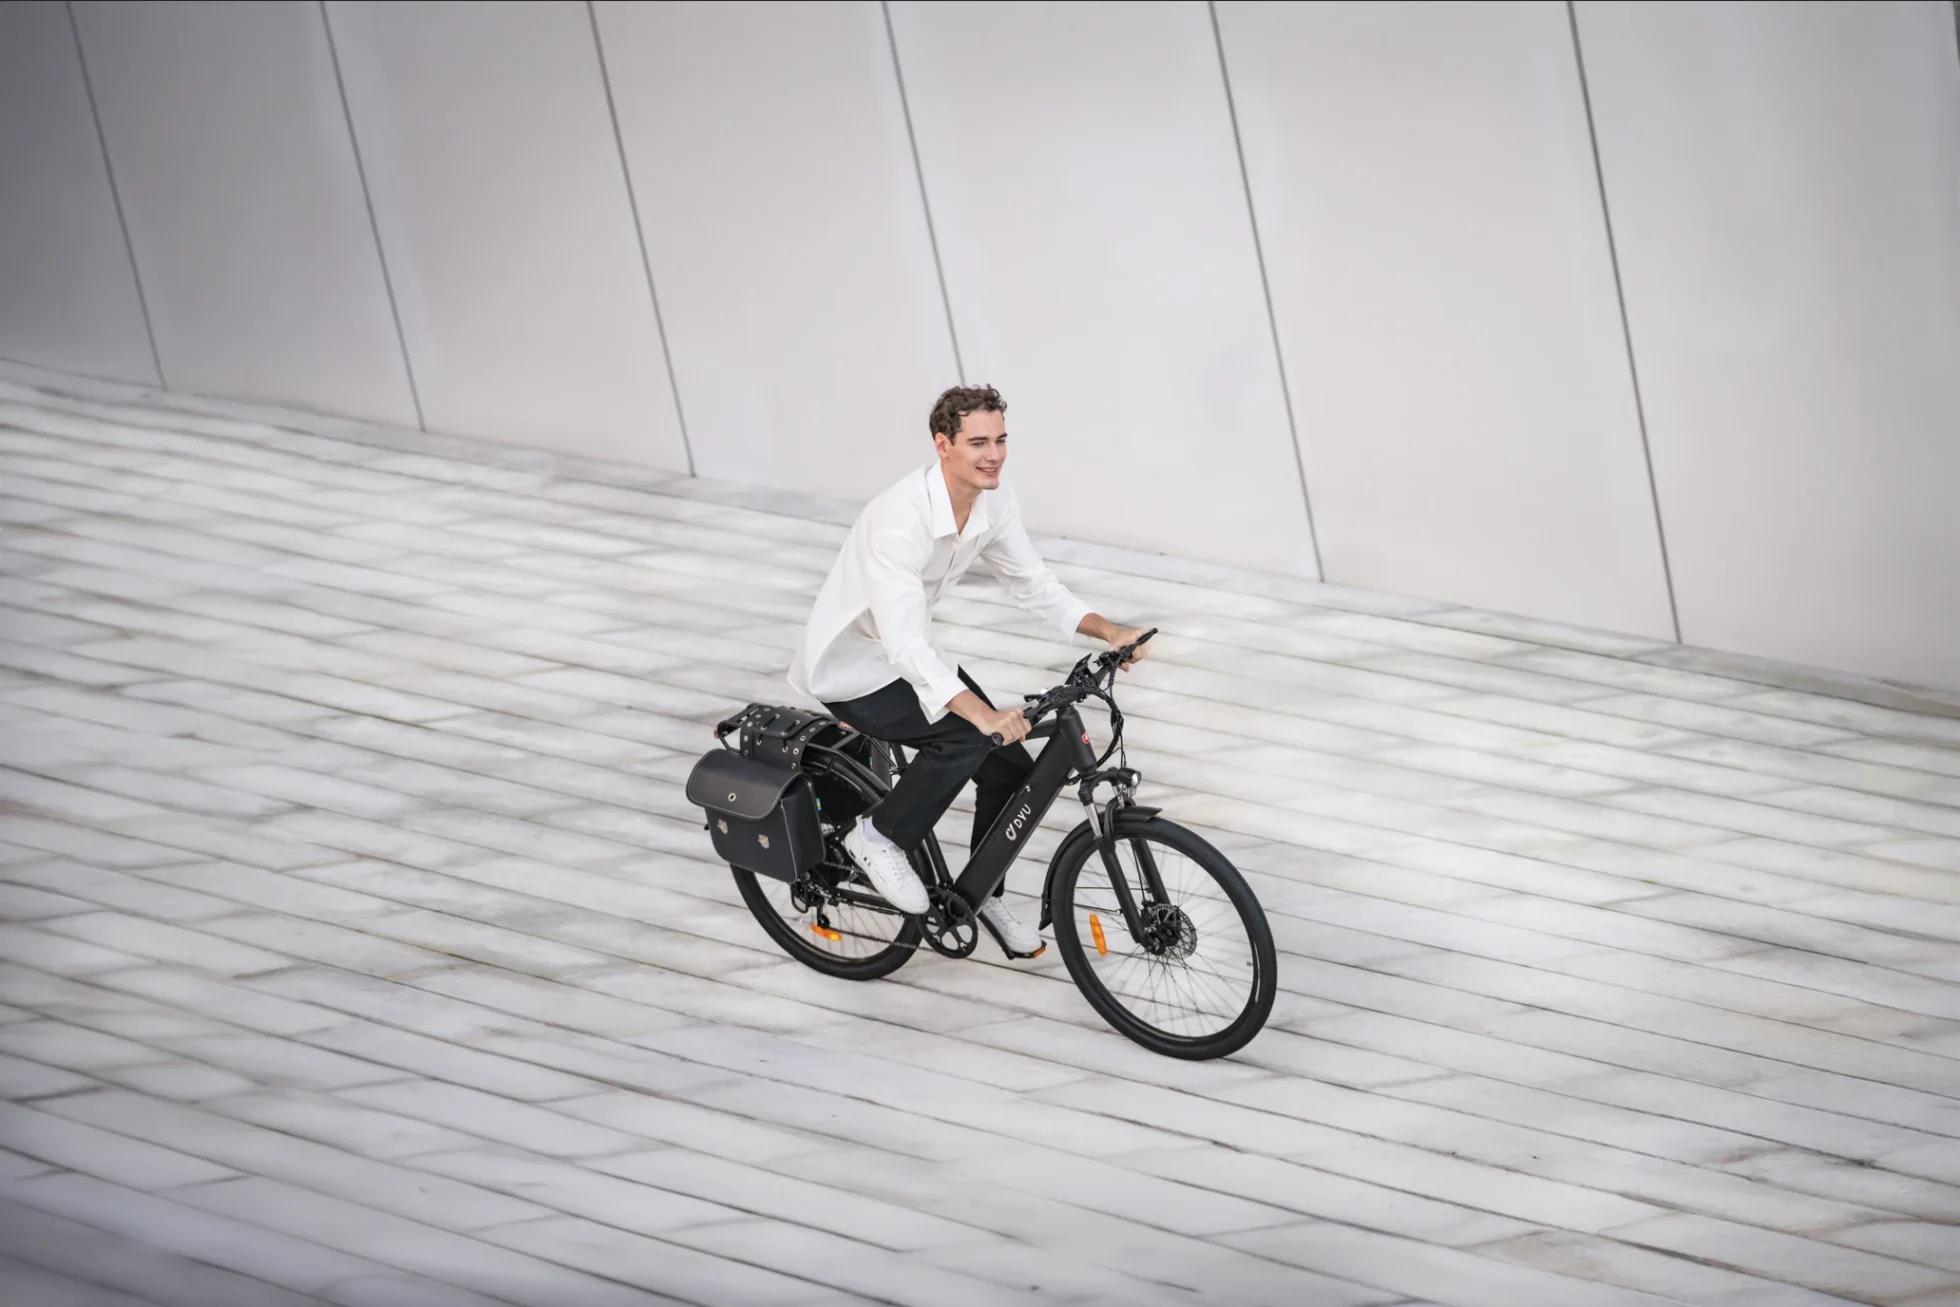
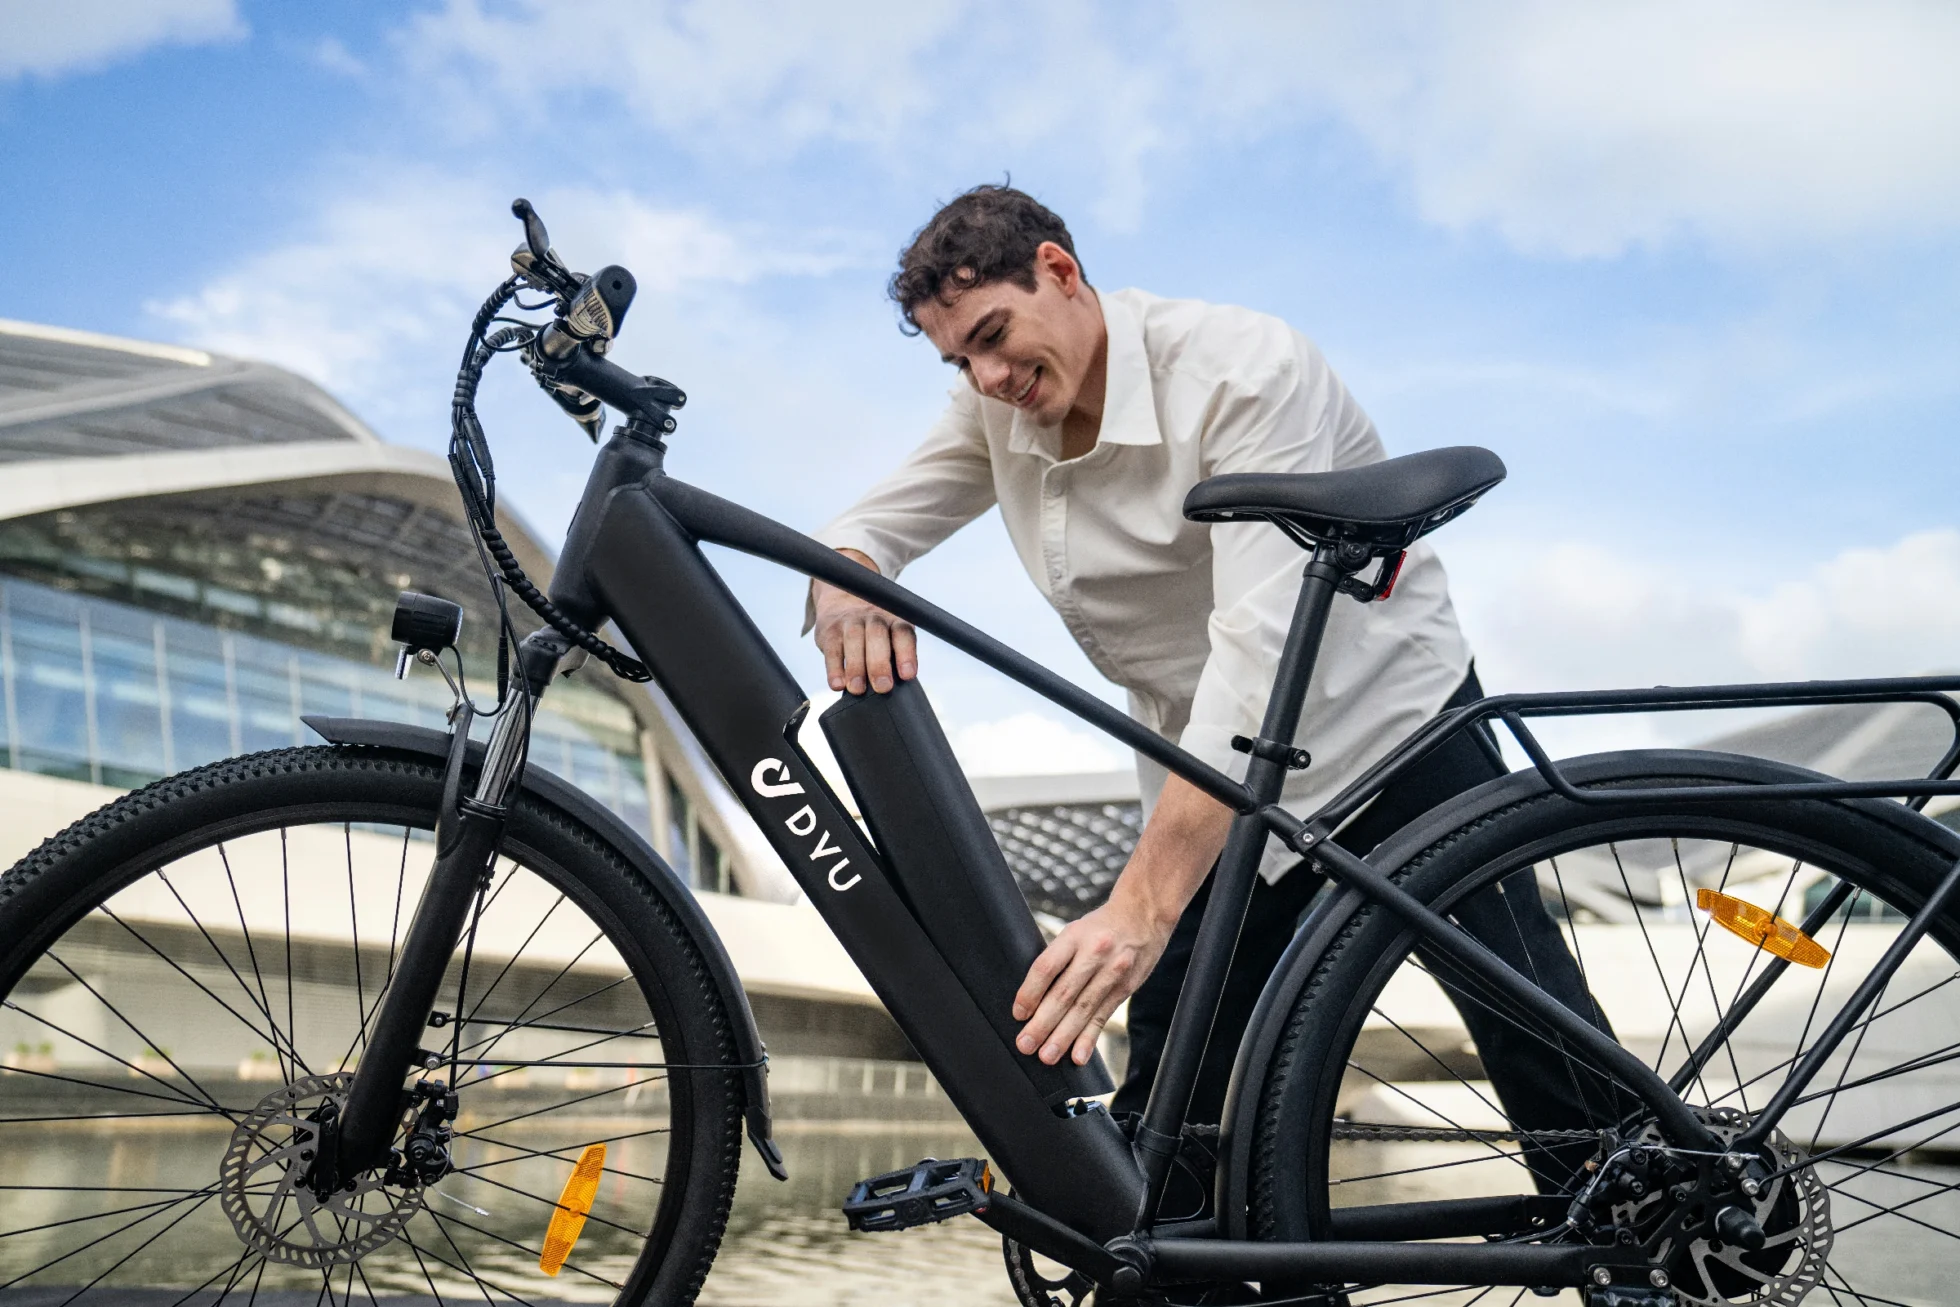
Once the fit routine is clear, a city bike gives us a practical example. The DYU C5 27.5-inch city e-bike is currently listed at €799, down from €899. Its European setup uses a 250W motor with assistance up to 25 km/h, a 48V 10Ah removable battery, and a listed pedal-assist range of up to 65 km.
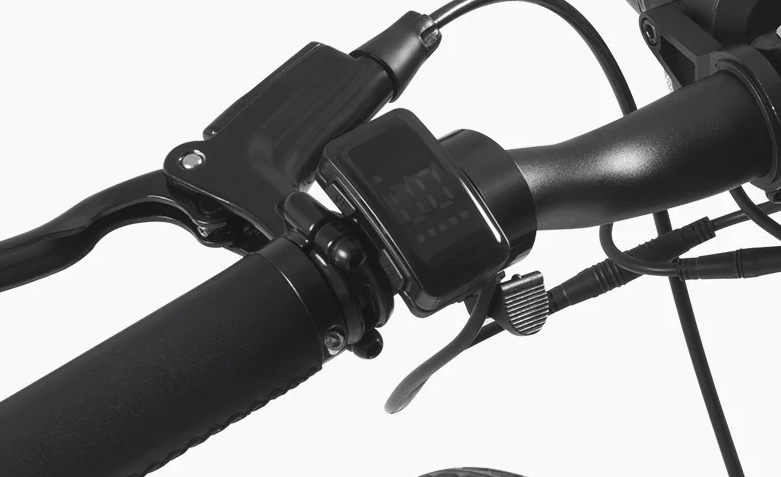
For this topic, the most relevant feature is not range. It is the built-in LED lighting, which supports visibility when a commute stretches into dull weather or evening. The bike also has 27.5-inch all-terrain tyres, disc brakes, front-fork and seat suspension, a 120 kg load rating, and an LCD display.
There is an honest limitation. At 27 kg, the C5 is not a bike I would casually carry up several flights of stairs while holding a helmet and work bag. A ground-floor storage space or secure lift changes that calculation. The helmet should also be stored where the shell will not be crushed against the frame, lock, or wall.
Know When Adjustment Is No Longer Enough
Some problems cannot be fixed with the dial. I stop using a helmet after a crash or significant impact, even when the outer shell looks acceptable, because the energy-absorbing structure may have compressed. I also replace it if I find cracks, crushed foam, a damaged buckle, straps that will not hold tension, or a retention system that slips.
Age alone is less simple. Materials, use, storage, heat exposure, and manufacturer guidance differ. I check the manual and the maker’s replacement advice rather than repeating a universal number. A helmet stored beside a hot car window or dropped onto concrete every week may deserve attention sooner than one kept carefully indoors.
Before buying a replacement, I repeat the entire measurement process. Head shape can change, hair can change, and helmet designs certainly change. I do not assume that the next version of a familiar model will fit exactly like the old one.
A Practical Bottom Line
The useful part of an e-bike helmet fit guide is not the shopping list. It is the repeatable routine. Measure first, set the shell level, shape the straps, run the movement tests, and reassess whenever clothing or accessories change.
- Choose size and shape before colour or extra features.
- Keep the helmet low, level, and snug without painful pressure.
- Use movement tests instead of trusting the mirror.
- Pair the helmet with lights, working brakes, controlled speed, and predictable riding.
- Retire a damaged or impacted helmet rather than trying to repair it.
I would rather spend one quiet minute adjusting a strap at home than notice it moving halfway through a busy junction. That minute is small enough to repeat every day, which is exactly why it works.
FAQs
Q1. How should an e-bike helmet fit?
An e-bike helmet should sit level and low on the forehead, feel snug around the full head, and stay in place during gentle movement tests. It should not create a sharp pressure point or slide when you turn your head.
Q2. How tight should a bike helmet chin strap be?
The chin strap should be close enough to control the helmet without restricting breathing or swallowing. When you open your mouth, you should feel the helmet pull down slightly rather than remain loose.
Q3. Do I need a special helmet for an e-bike?
The answer depends on the e-bike’s speed class, local rules, and the applicable helmet standards. For a standard European pedelec, choose a properly certified cycling helmet that fits correctly; faster speed-pedelec categories may require different equipment, so check local law and the helmet maker’s intended use.
Q4. Can I wear a hat under an e-bike helmet?
Only use a thin layer that does not change the helmet’s position or retention, and follow the helmet maker’s instructions. A thick hat can compress during the ride and leave the helmet loose.
Q5. When should I replace an e-bike helmet?
Replace it after a crash or significant impact, or when the shell, foam, straps, buckle, or retention system is damaged. For age-based replacement, follow the manufacturer’s guidance and consider how the helmet has been used and stored.