








An e-bike brake pad wear guide should help a city rider notice change before braking becomes an emergency. Pads rarely go from healthy to useless in one ordinary ride. More often, the warning arrives as a longer lever pull, a rough sound, weaker bite in the rain, or a wheel that never seems to stop rubbing.
I treat every new sound as information, not a reason to spray cleaner or turn the nearest adjuster. Brakes are a safety system. The useful habit is to inspect calmly, keep oil away from the rotor, compare the feel of both levers, and ask a qualified mechanic when the cause is uncertain.
E-Bike Brake Pad Wear Starts With Small Changes

Begin with the bike switched off on level ground. Squeeze each brake lever separately, then roll the bike slowly and apply one brake at a time. The lever should feel consistent, the brake should engage predictably, and the wheel should release when the lever is let go.
A change does not automatically mean the pads are worn out. A loose wheel, contaminated pad, bent rotor, stretched cable, sticky piston, air in a hydraulic system, or poor caliper alignment can create similar symptoms. That is why diagnosis matters more than guessing.
| What you notice | What it may indicate | Safe next step |
|---|---|---|
| Lever travels farther than usual | Pad wear, cable adjustment, hydraulic issue, or loose component | Stop and inspect before the next busy ride |
| Metallic scraping | Pad material may be exhausted or debris may be trapped | Do not continue riding hard; arrange inspection |
| Brake squeals after oil or spray | Possible pad or rotor contamination | Keep riding to a minimum and seek correct cleaning or replacement advice |
| Pulsing at the lever | Rotor damage, uneven surface, or mounting problem | Check the wheel and rotor without touching the braking surface |
| Wheel drags constantly | Caliper alignment, piston, cable, or rotor issue | Do not assume the pads simply need wearing in |
The practical overview from Electric Bike Report’s e-bike brake guide explains how common systems differ. The important point for daily riders is that mechanical and hydraulic disc brakes can both work well, but their adjustment and service procedures are not interchangeable.
Do a Safe Weekly Brake Check
I use a short check before a week of commuting and again after heavy rain, a wheel removal, a fall, or transport in a car. It takes less time than finding another route after a brake problem appears halfway to work.
- Confirm both wheels are seated and secured correctly.
- Check that the rotors look straight and are free of visible oil.
- Squeeze both levers and compare travel, firmness, and return.
- Roll the bike slowly and test each brake separately.
- Look through the caliper only if the pad material is clearly visible.
- Check that cables, hoses, calipers, and rotor bolts do not appear damaged or loose.
Never put fingers near a moving rotor. Rotor edges can be sharp, and a spinning wheel can pull a cloth or glove into the caliper. If you need to remove pads or measure them, follow the exact brake maker’s instructions or leave the job to a bicycle mechanic.
BikeRadar’s electric-bike maintenance guide also places brakes inside a wider routine. Tyres, wheel security, drivetrain condition, battery mounts, and electrical connections all affect whether an e-bike is ready for the road.
Pad Wear Is Not the Only Cause of Poor Braking

A quiet brake can be worn, and a noisy brake can still have plenty of pad material. Noise alone is not a wear gauge. The pattern, timing, and recent history provide better clues.
Contamination is a common example. Chain lubricant, polish, grease, road oil, or an oily cleaning cloth can reach the rotor and soak into the pad surface. Adding more cleaner without knowing the pad and rotor material can spread the problem. Keep all lubricants away from braking surfaces and use only methods approved by the component maker.
Rotor rub can also come from wheel seating or caliper alignment. A small rhythmic sound once per wheel revolution may point to lateral rotor movement. A constant drag may indicate a different alignment or piston issue. The Park Tool rotor diagnosis guide shows why a bent rotor needs careful assessment rather than a casual bend by hand.
There is one firm rule: if braking performance has changed and the cause is unclear, do not use a faster ride as the test. A workshop stand and a controlled low-speed check are safer than discovering the answer on a downhill junction.
Wet City Riding Can Shorten the Inspection Interval

Rain does not automatically ruin disc brake pads, but wet grit can accelerate wear and change the first moments of braking. After a soaked commute, I wipe the bike down, inspect the rotors visually, and test the levers before the next ride.
Allow more stopping distance when conditions reduce grip. Brake smoothly with both brakes, keep the bike upright where possible, and avoid abrupt inputs on painted lines, metal covers, leaves, or polished cobbles. Pad condition matters, but tyre grip and rider technique still set the limit.
The related guide to e-bike rain riding for city commuters covers visibility, route choice, braking space, and drying the bike after a wet trip. A clean rotor and healthy pads are only part of that bigger wet-weather plan.
Know When to Stop Riding
Some symptoms deserve an immediate pause. Stop using the bike if the lever reaches the grip without reliable braking, fluid appears around a hydraulic component, a cable is frayed, a rotor is cracked or badly deformed, the caliper is loose, or the pad backing appears to contact the rotor.
Do not try to solve a serious symptom by tightening random bolts. Brake fasteners have specified procedures and torque values. An overtightened or cross-threaded bolt can turn a maintenance job into a damaged component.
Pad replacement also requires the correct shape and compound for the caliper. Park Tool’s disc brake pad replacement overview shows how many retaining systems exist. Use it to understand the job, then follow the actual brake manufacturer’s documentation for compatibility and limits.
Where the DYU A1F Pro Fits This Guide
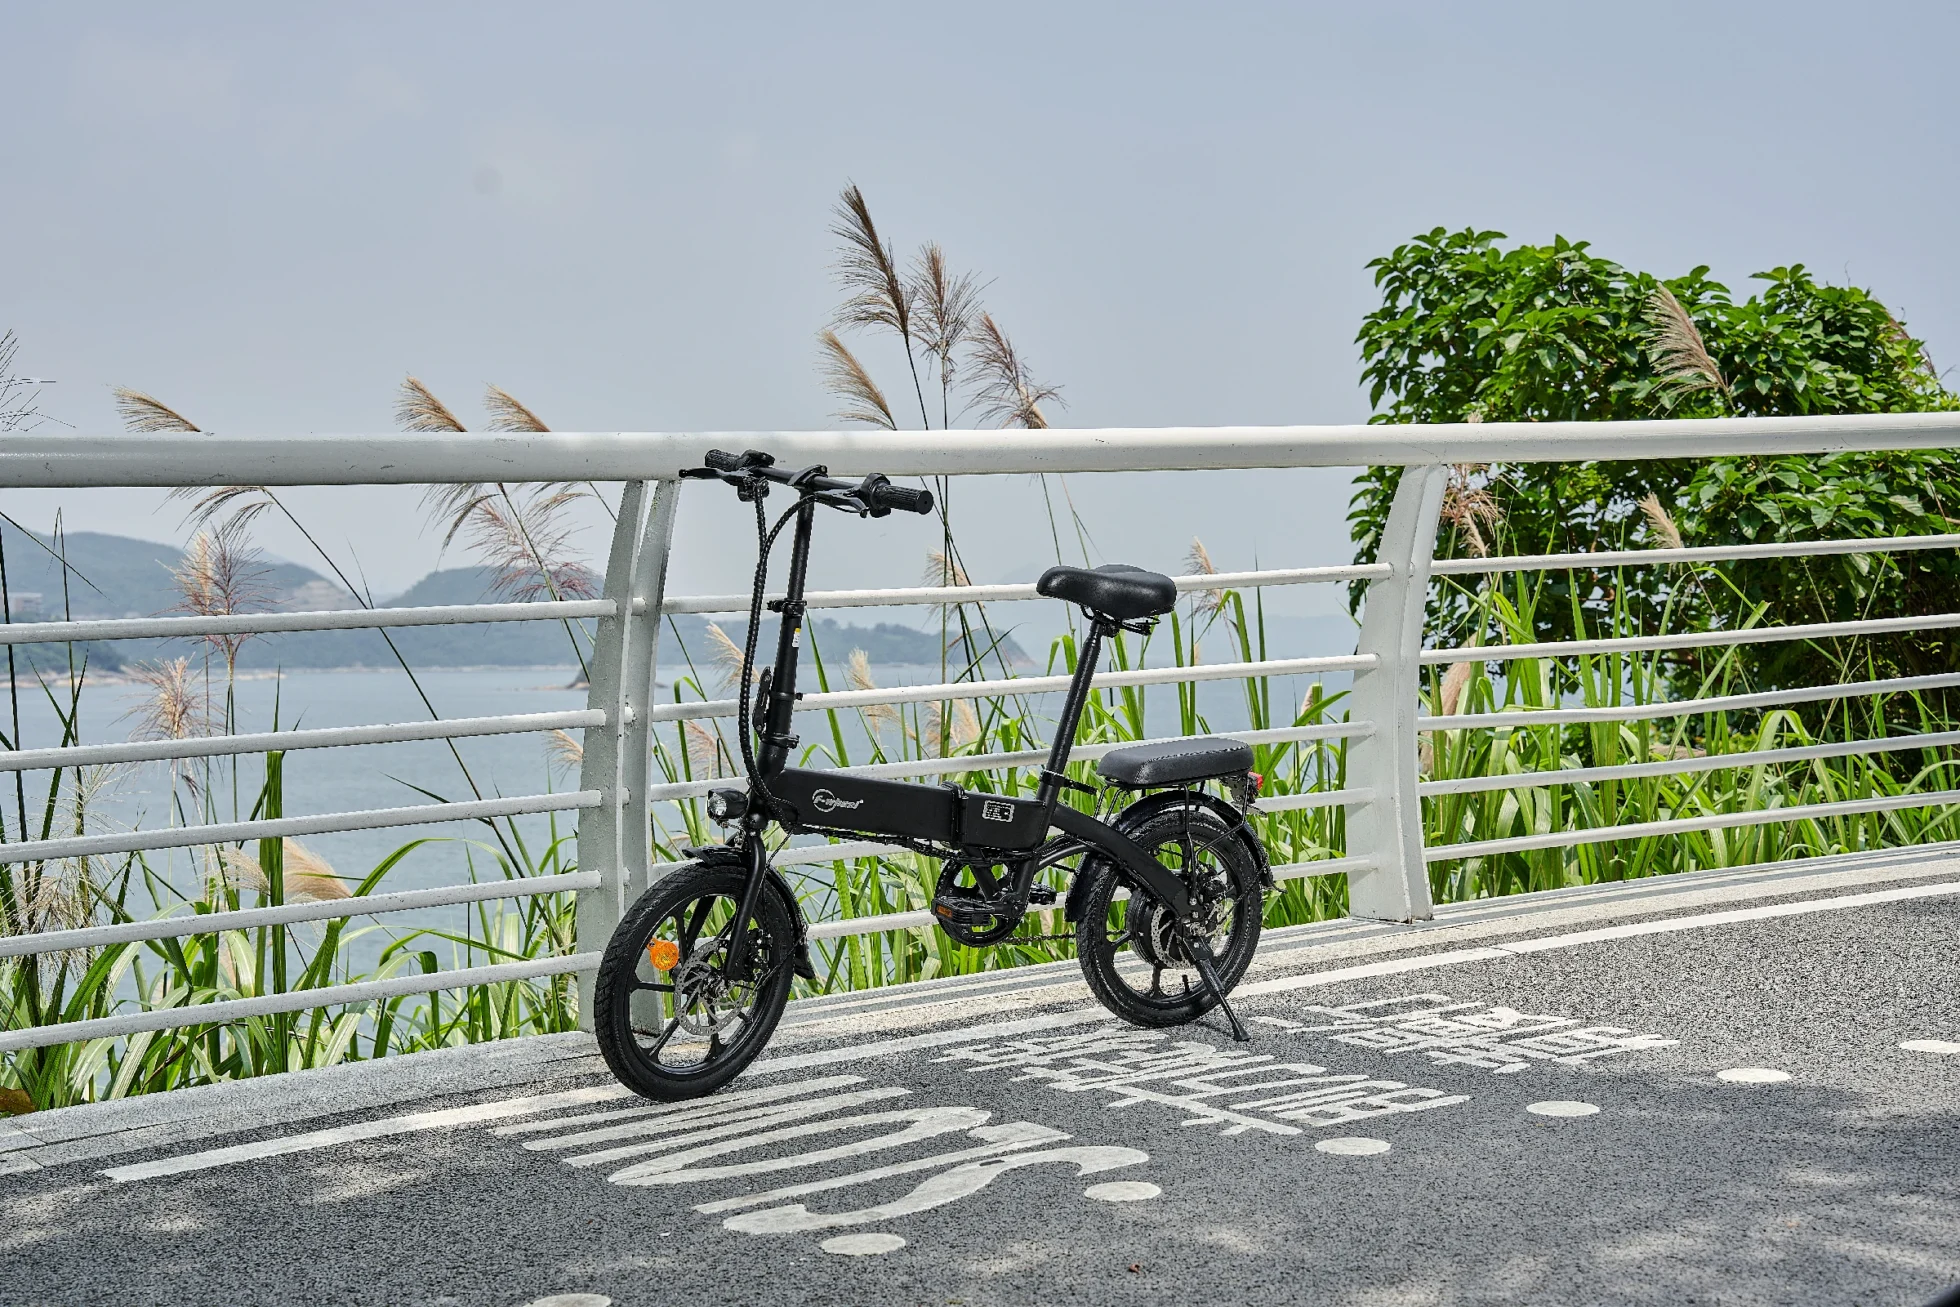
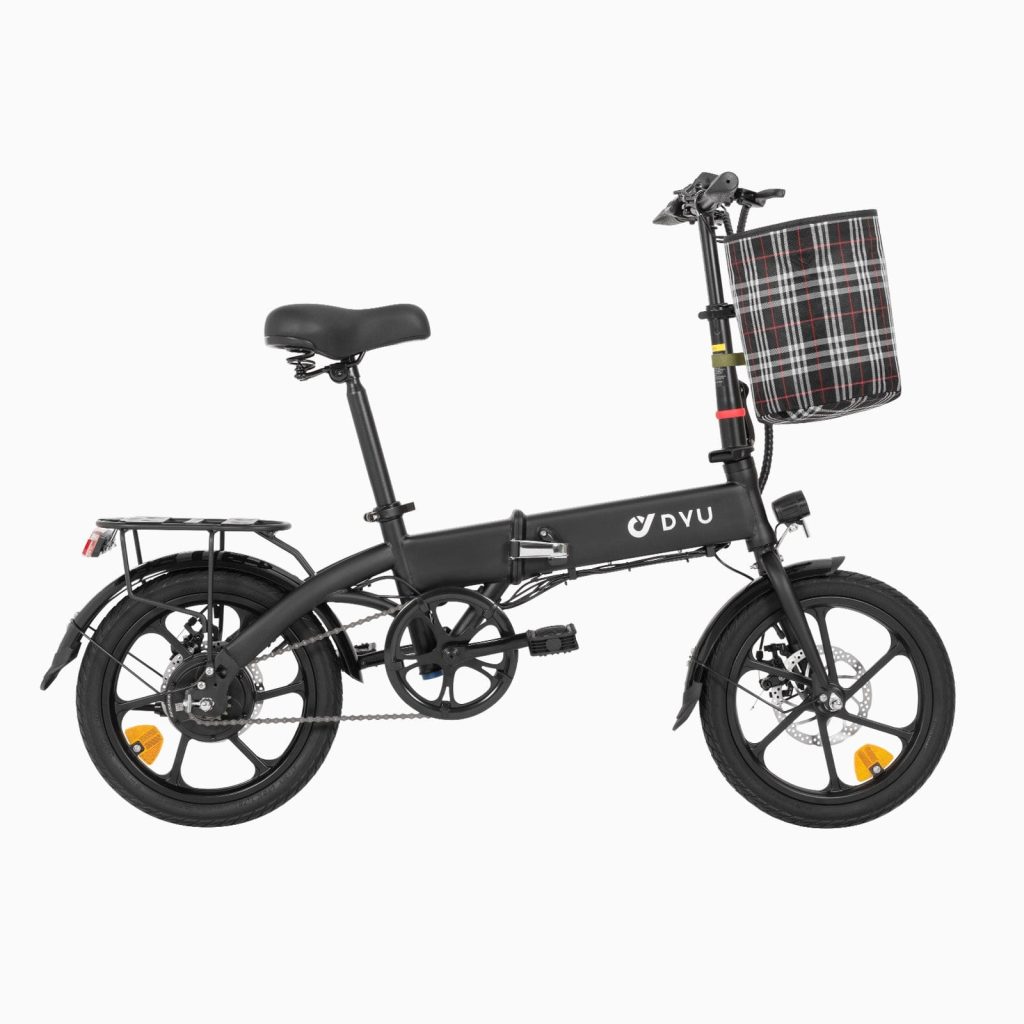
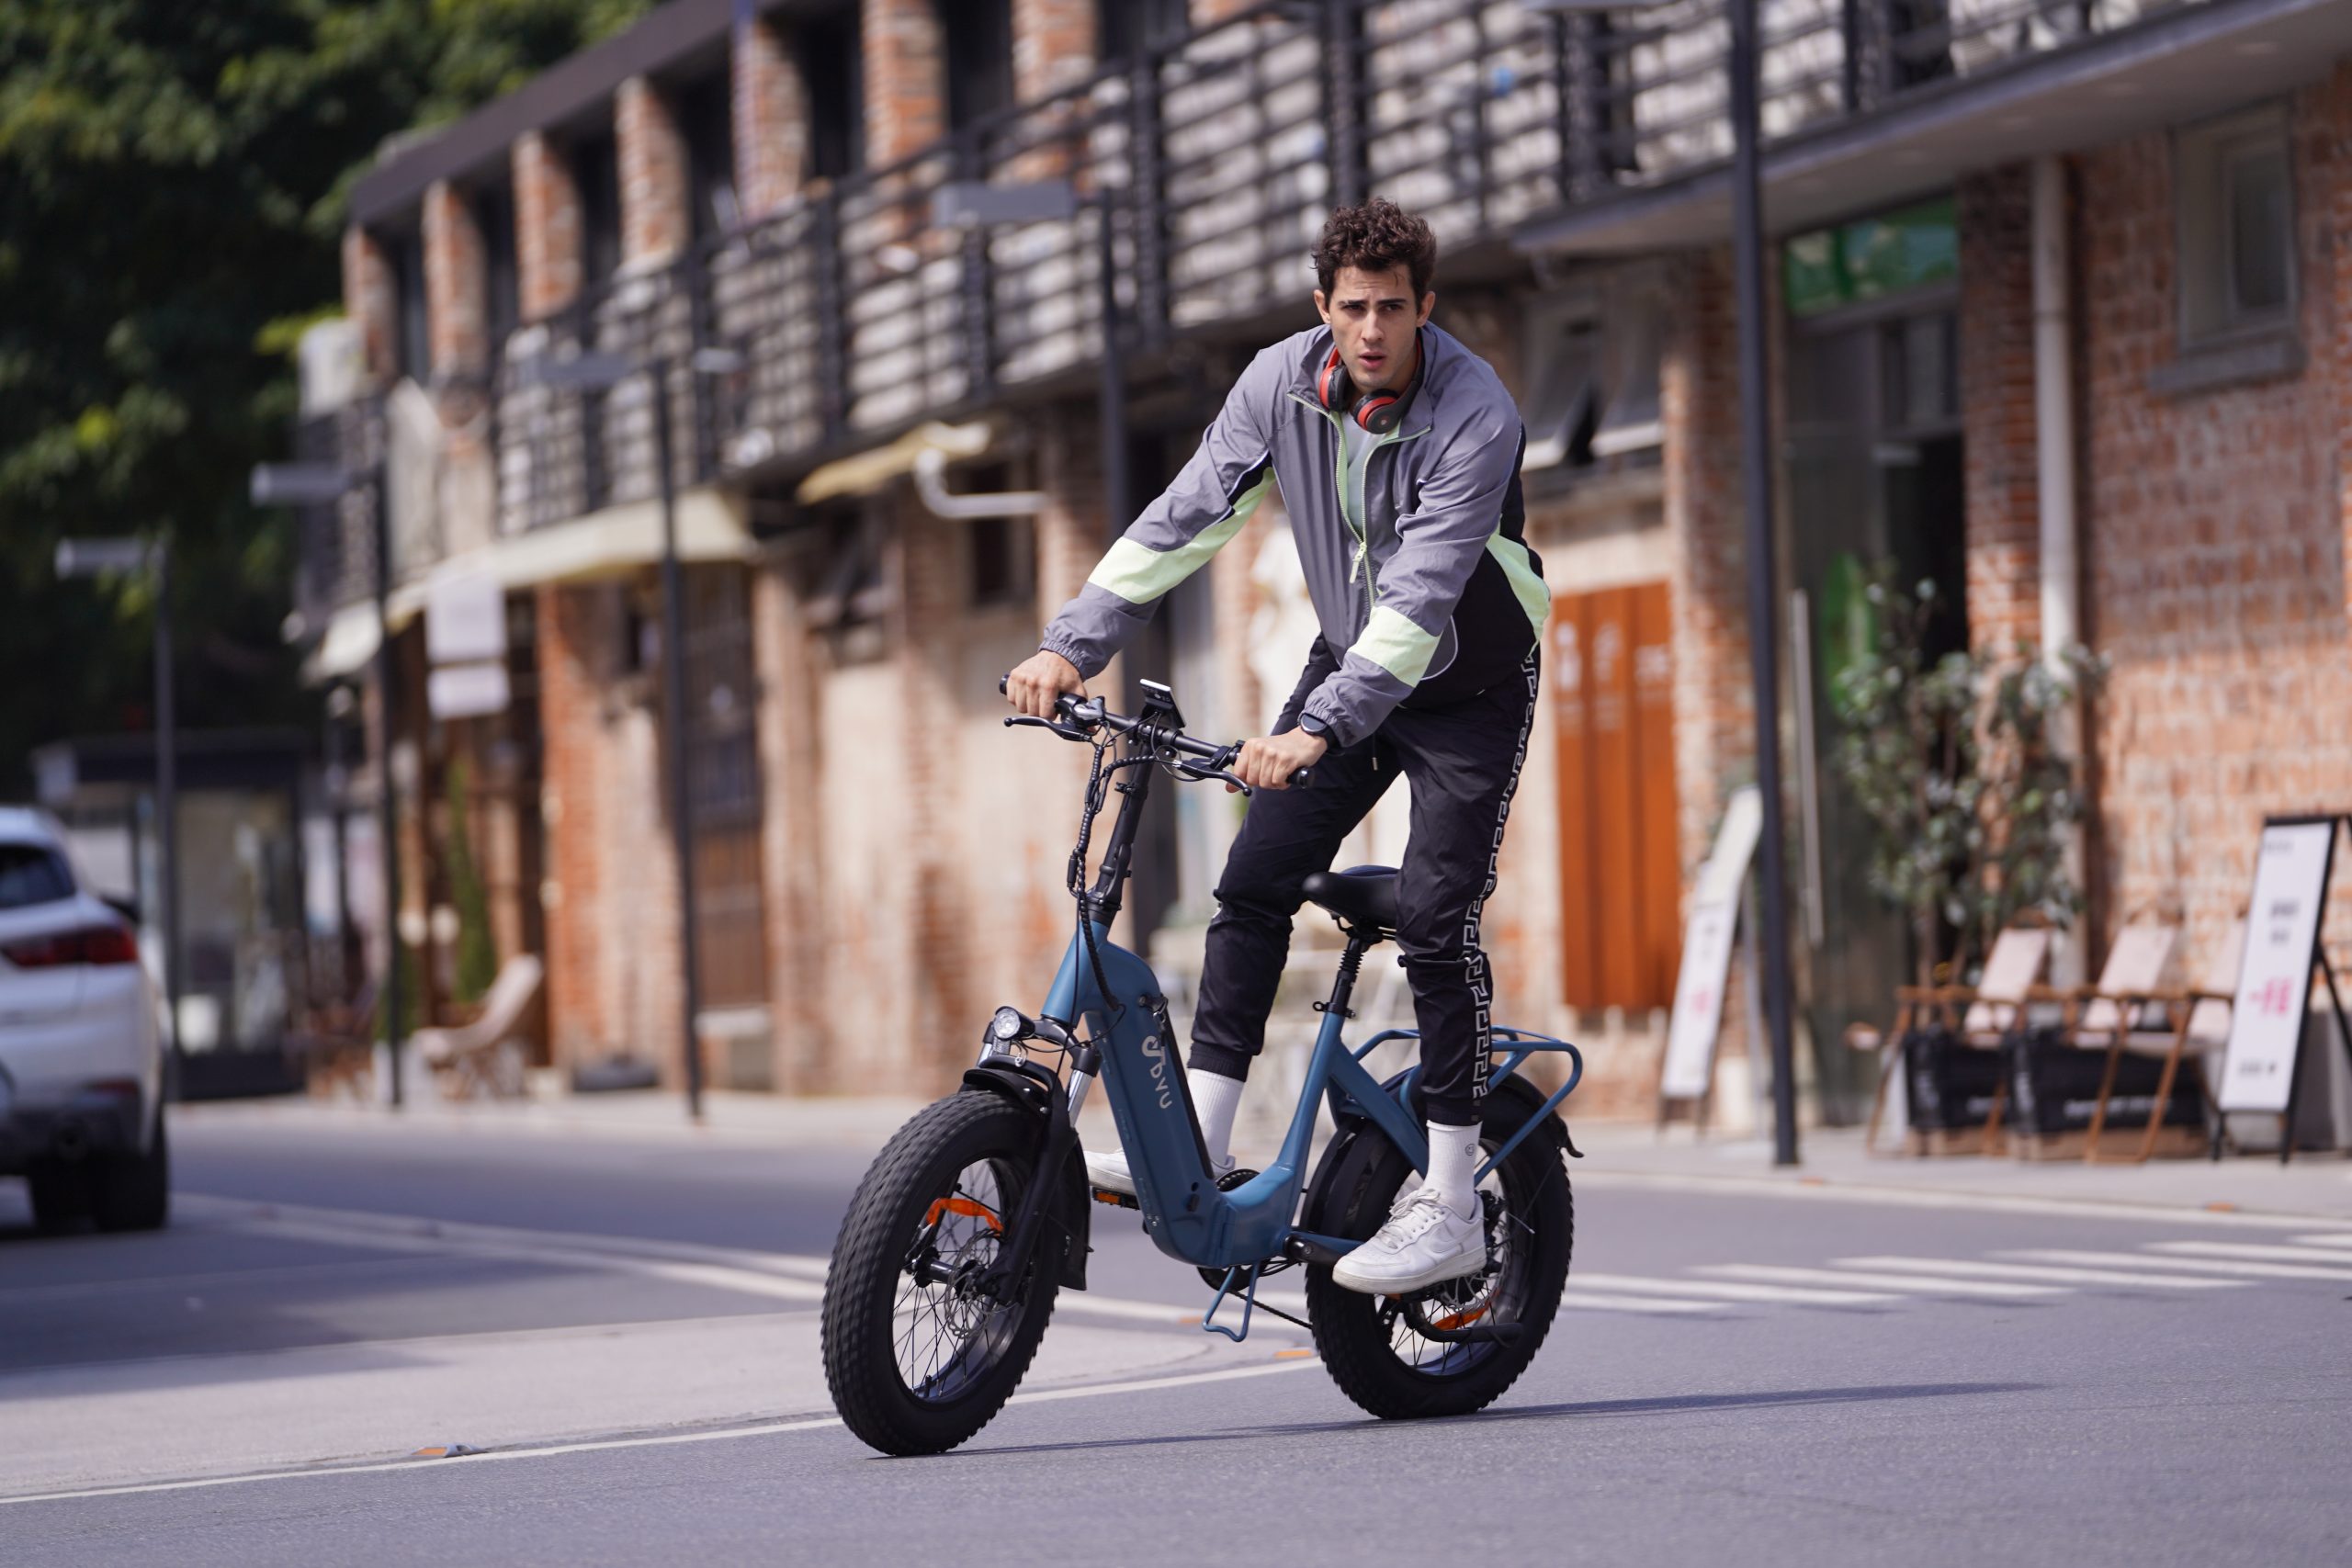
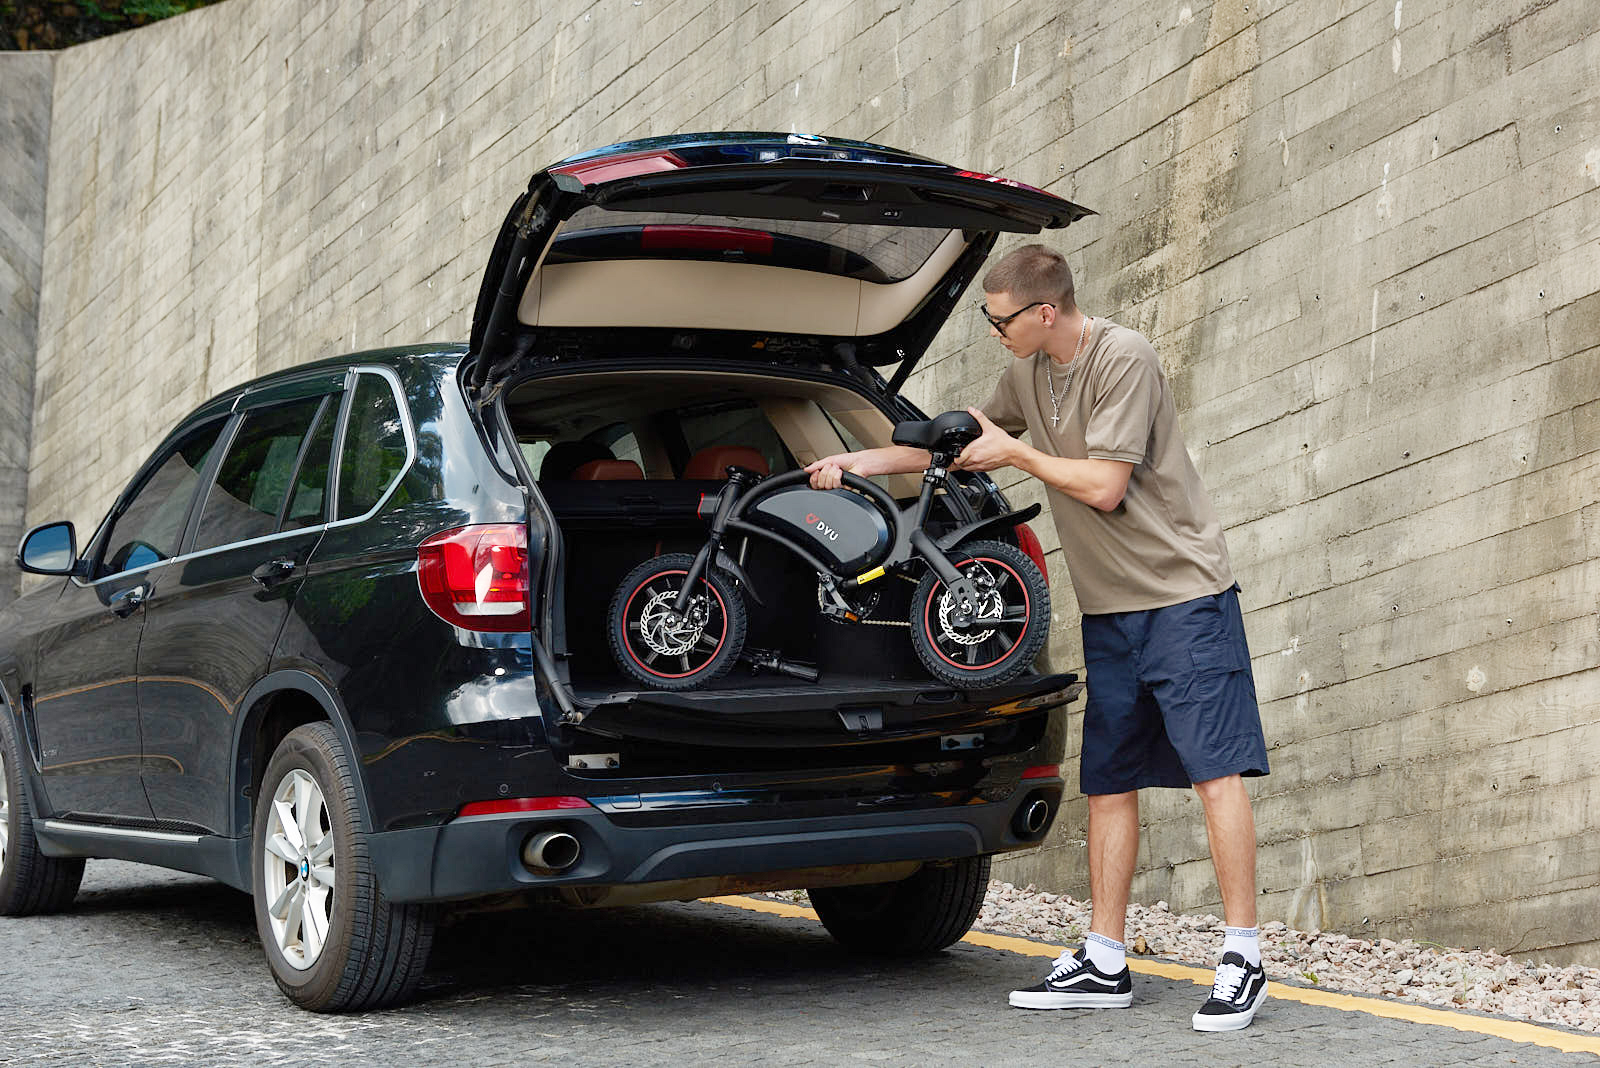
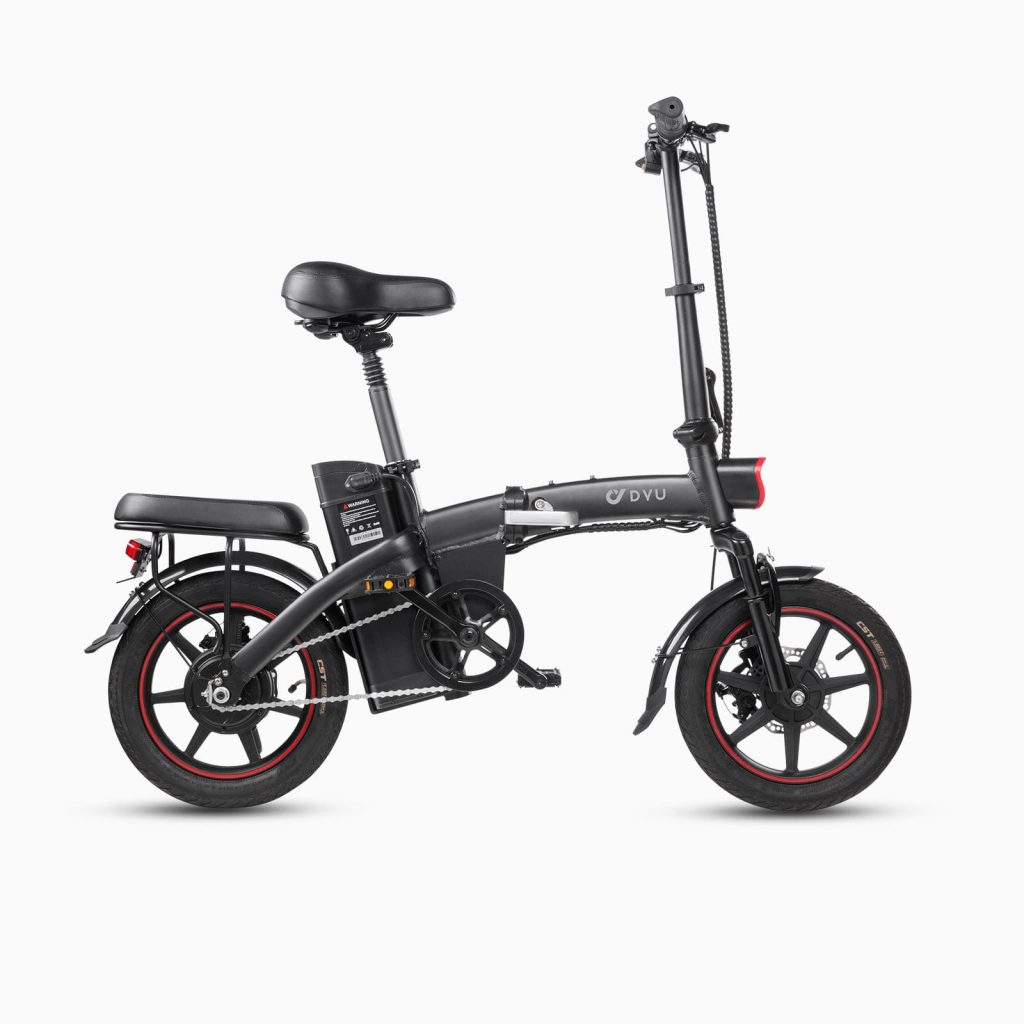
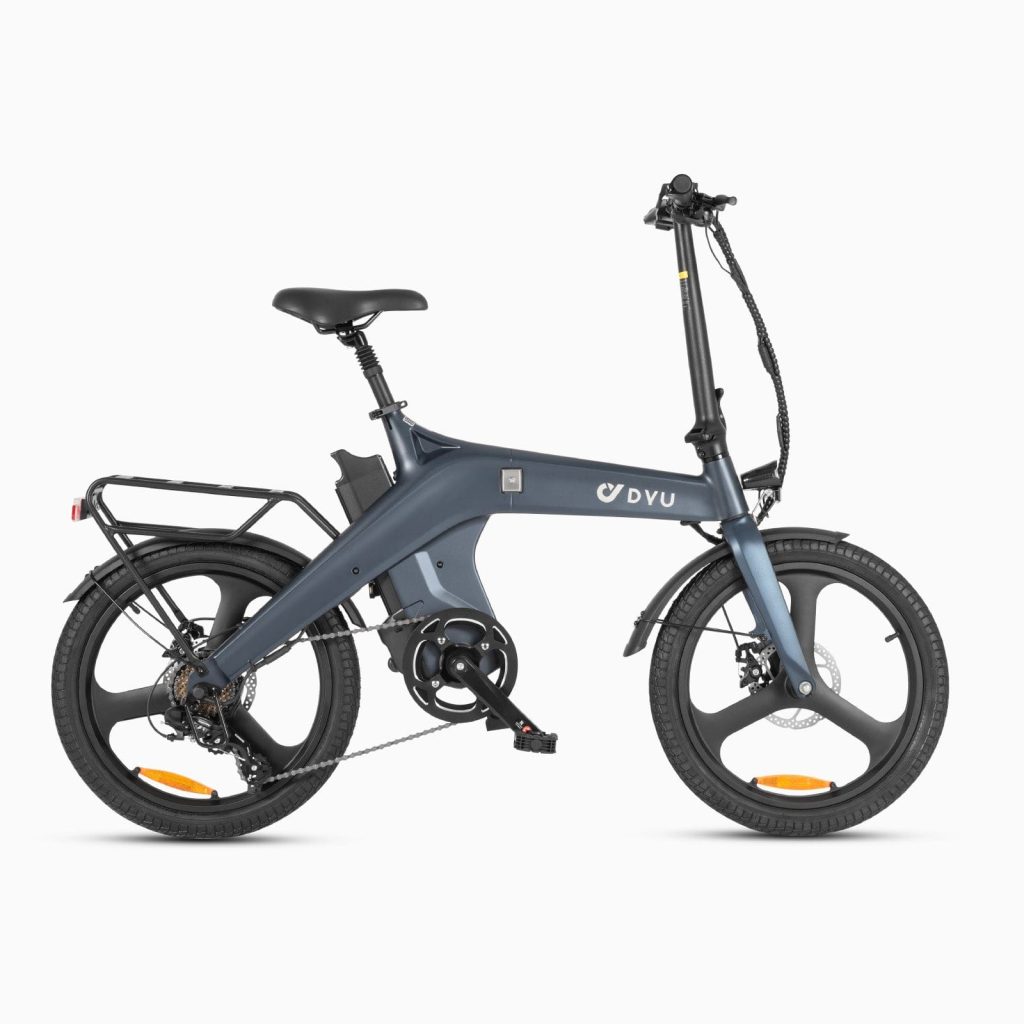
The DYU A1F Pro 16-inch folding e-bike is a useful city example because it uses front and rear disc brakes while carrying the extra mass of a motor, battery, basket, rack, rider, and everyday luggage. Its key figures are a 250W motor, 36V 7.5Ah battery, listed pedal-assist range of up to 60 km, 21 kg bike weight, and 120 kg load capacity.
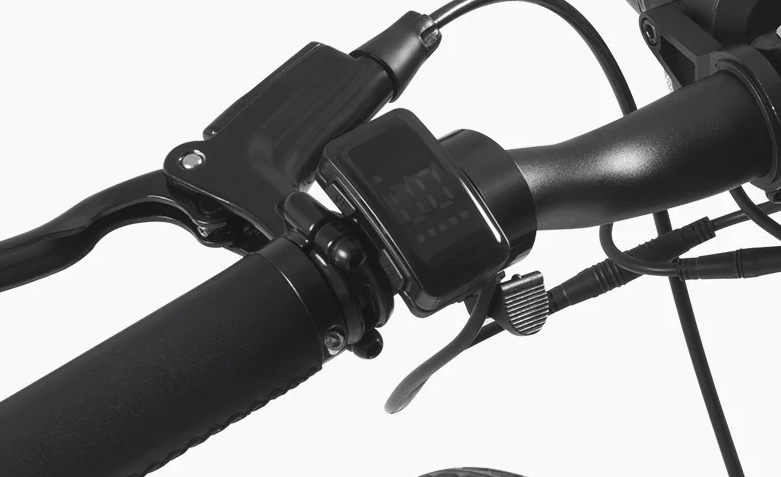
At the time of writing, the DYU A1F Pro is listed at €499, down from the regular €619. The A1F Pro also has 16-inch wheels, an LCD display, adjustable saddle and handlebar, a front LED light, rear reflectors, and a folding frame. Those features suit short city trips and mixed storage, but they do not reduce the need for a regular brake check.
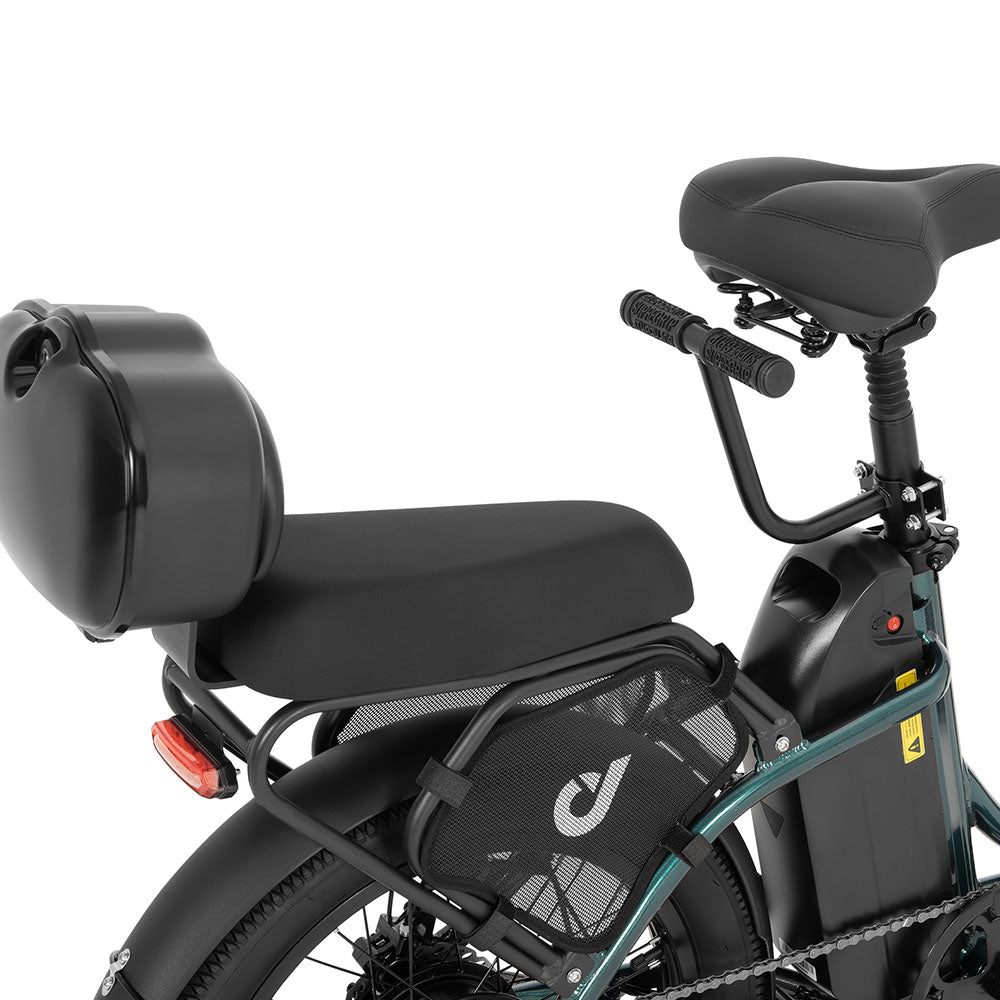
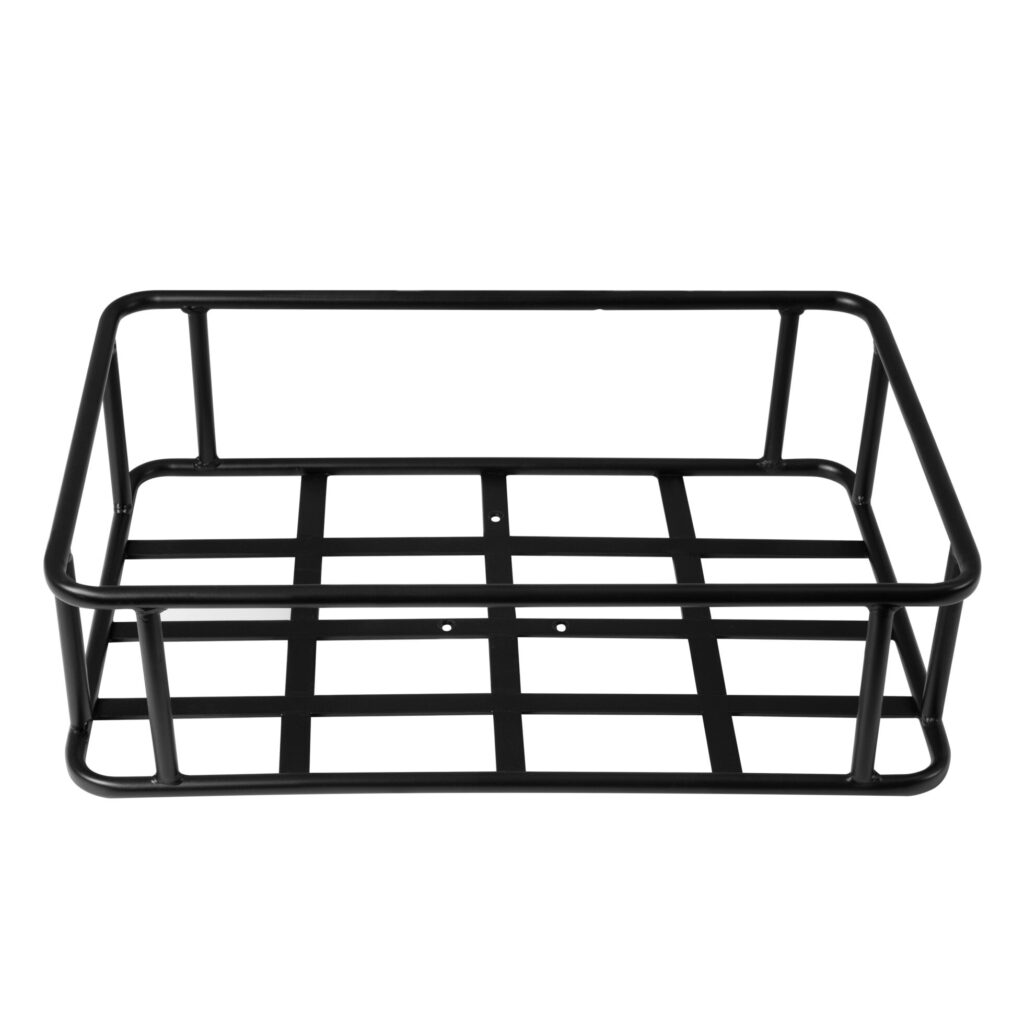
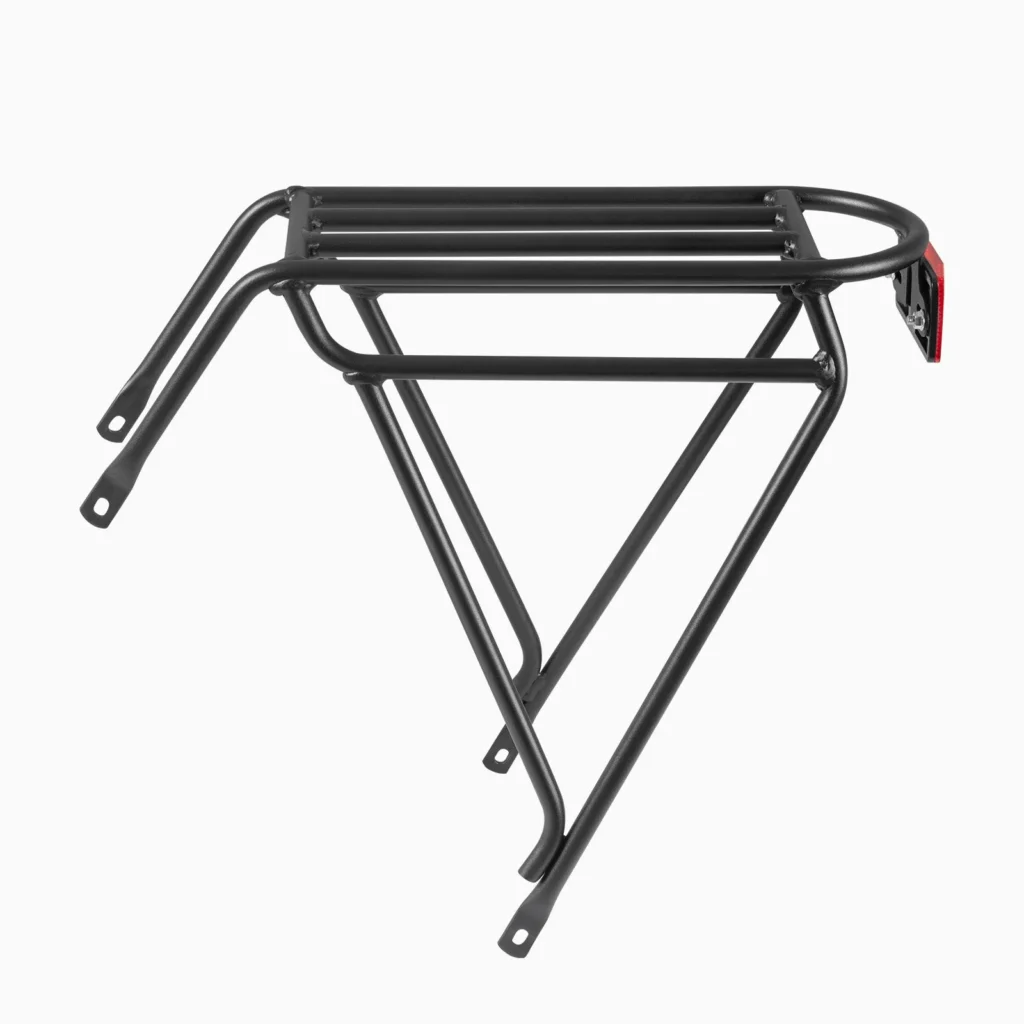
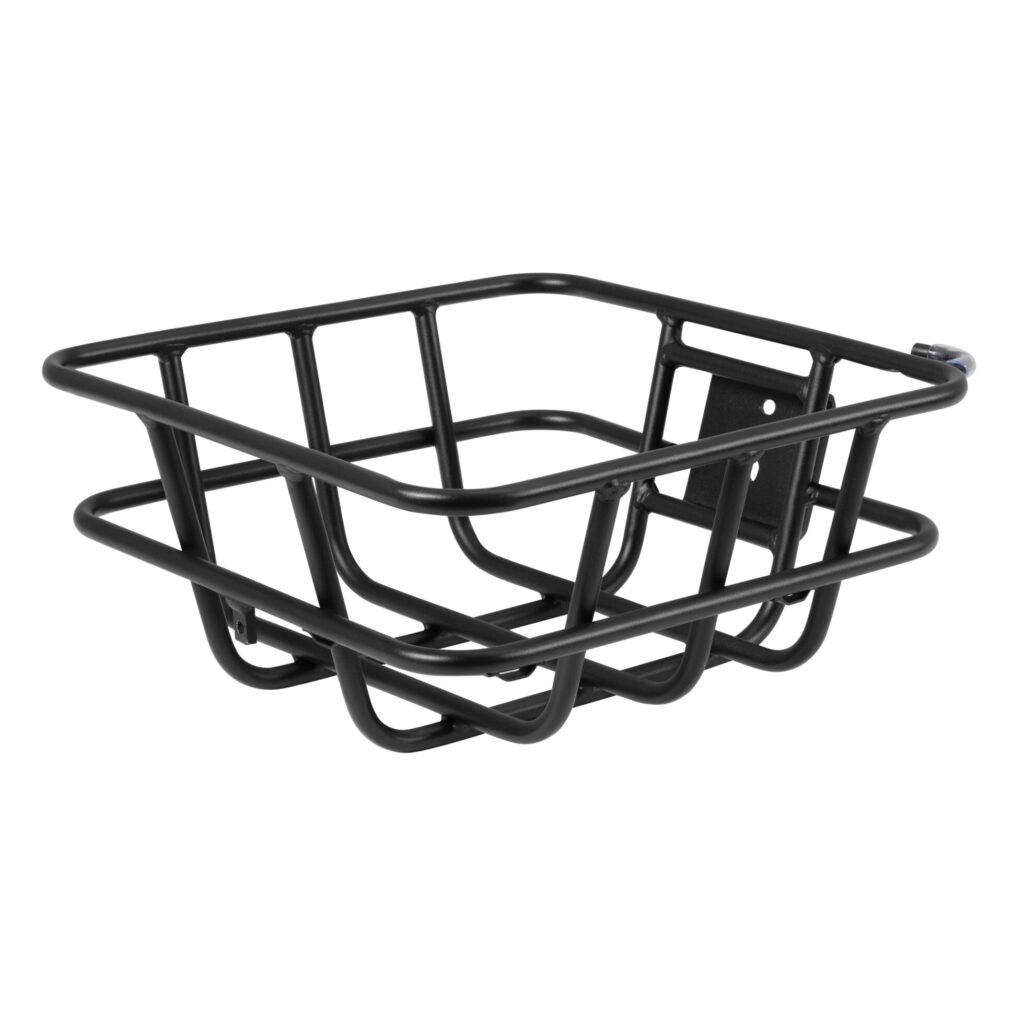
A loaded basket can change steering feel, while cargo on the rack adds total mass. Keep every load within the bike and rack limits, secure it so nothing reaches a wheel, and allow more stopping space. The disc brake system guide provides wider context for how common designs feel and are serviced.
Riding Habits Can Reduce Unnecessary Wear
Brake pads are consumable parts, but riding style influences how quickly heat and friction build. Look ahead, roll off assistance early, and brake progressively instead of accelerating toward every red light and stopping at the last moment.
- Use both brakes smoothly instead of dragging one brake for long periods.
- Select a sensible speed before a steep descent.
- Do not ride a brake continuously to control speed.
- Leave extra space when carrying shopping or riding in rain.
- Keep tyres correctly inflated and in good condition.
- Book service sooner if the bike is used daily in steep, wet, or gritty conditions.
Good anticipation is quieter and usually kinder to the whole bike. It also leaves more time to react when a pedestrian steps into a cycle lane or a car door opens ahead.
Build a Simple Brake Service Record
Mileage alone cannot predict pad life. A flat dry commute and a hilly winter delivery route can create very different wear over the same distance. I keep a short note of inspections, pad changes, rotor work, unusual noises, and wet rides.
| Record | Why it helps |
|---|---|
| Date and odometer | Shows how conditions and distance relate to wear |
| Front and rear lever feel | Makes gradual changes easier to notice |
| Pad and rotor finding | Prevents repeated guesswork at the next service |
| Wet, gritty, or steep use | Explains why inspection intervals may need shortening |
| Parts and mechanic notes | Preserves compatibility and service history |
Combine that record with the broader DYU e-bike maintenance checklist and the city puncture-prevention routine. Brakes deserve priority, but they work as part of a complete bike.
Conclusion: Inspect Early and Replace Correctly
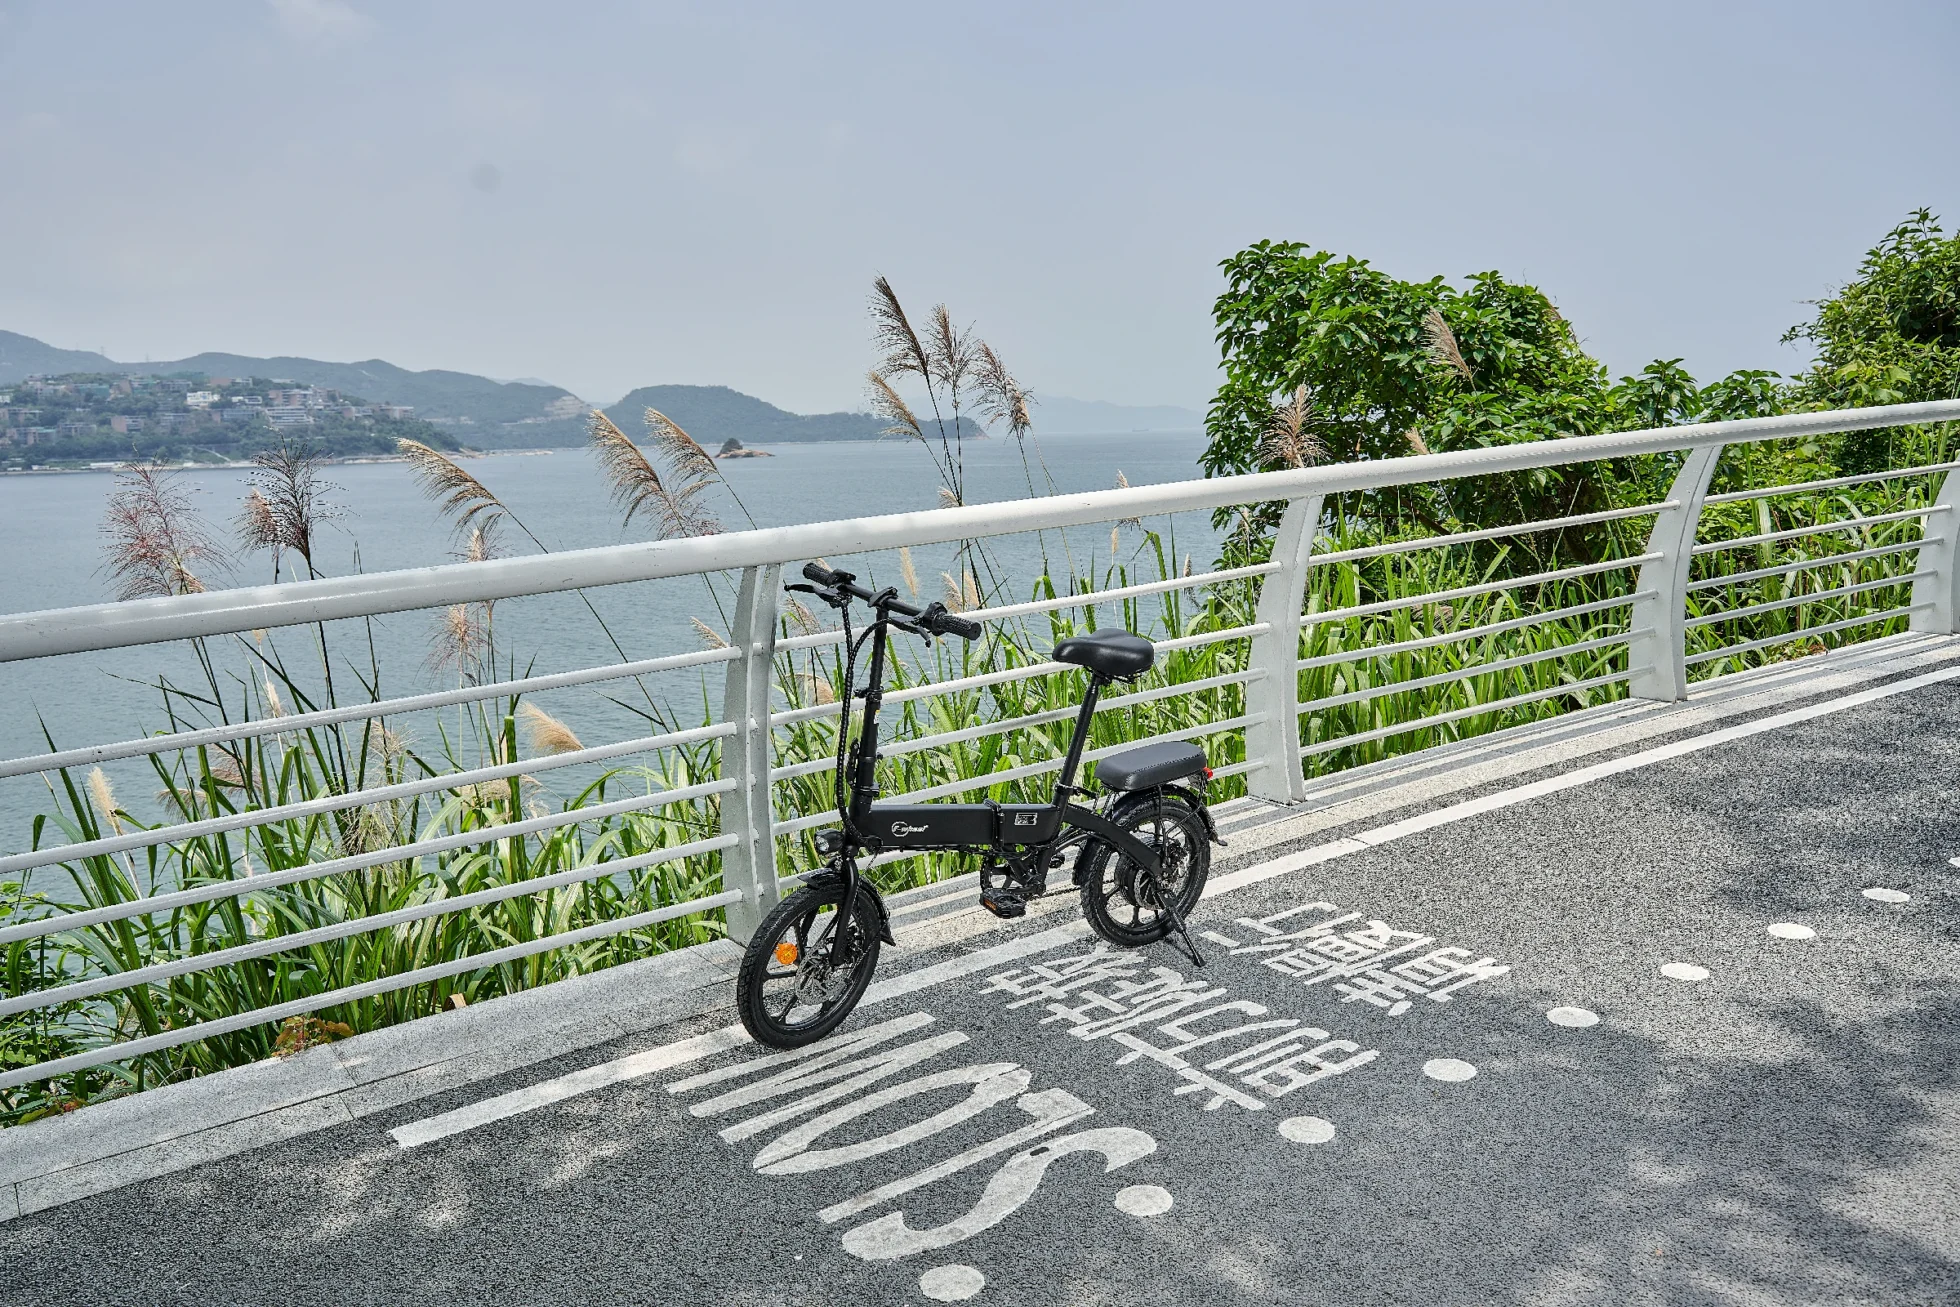
The most useful e-bike brake pad wear guide is built around change: how the lever feels, how the bike sounds, how quickly it stops, and what happened on recent rides. Check early, keep braking surfaces clean, and never assume that noise has one simple cause.
For A1F Pro riders, the routine is straightforward. Compare both brakes every week, shorten the interval after rain or heavy loads, and use compatible parts installed to the correct procedure. A five-minute check can identify the small change that deserves professional attention.
FAQs
Q1. How do I know if my e-bike brake pads are worn?
Look for reduced pad material, longer lever travel, weaker braking, new scraping, or a change in feel. These symptoms can have other causes, so follow the brake maker’s inspection method or ask a mechanic.
Q2. How often should e-bike brake pads be checked?
Check lever feel before rides and inspect the braking system regularly. Daily use, hills, rain, grit, cargo, and rider weight can shorten the interval, so there is no single mileage for everyone.
Q3. Can contaminated e-bike brake pads be cleaned?
It depends on the pad material and the contaminant. Do not apply household solvents or heat. Follow the component maker’s guidance, and replace the pads if safe recovery is uncertain.
Q4. Why do new disc brake pads need bedding in?
Bedding transfers pad material to the rotor and helps the new surfaces work together. Use the exact process specified by the brake maker, because the correct sequence can differ by system and pad compound.
Q5. How much does the DYU A1F Pro cost?
At the time of writing, the DYU A1F Pro is listed at €499, down from the regular €619. Check the product page for current availability and final checkout details.